> ## Documentation Index
> Fetch the complete documentation index at: https://docs.textql.com/llms.txt
> Use this file to discover all available pages before exploring further.
# Building Your First Ontology
> Step-by-step guide to manually creating objects, attributes, links, and metrics in your ontology
Let's build a simple ontology together. We'll create an object for Customers.
**What You Need:**
* A database connection in TextQL
* Basic understanding of what data you have
* The table you want to build an object for
 ## Step 1: Create Your First Object (Customer)
**Where to Start:**
1. Go to your Ontology Page
2. Click "Create Object"
**Backing Table:** Select `public.customers` (or your customers table)
* This is the database table that stores customer data
* Choose from the dropdown
**Object Name:** Customer
* Make it business-friendly
**Description:** Individual customers who purchase from our store
* Help others understand what this represents
* Be specific and clear
**Click "Create"**
**What You Just Did:**
You told Ana "there's a thing called Customer, it lives in the customers table, and each customer is uniquely identified by customer\_id."
## Step 2: Attributes
Attributes will auto populate once you select your table. We need to tag each attribute as a primary key, dimension, or measure.
Let's use our customer object example and how each of the columns should be identified:
* `customer_id` → primary key (unique identifier)
* `customer_name` → dimension (use to group/filter)
* `customer_email` → dimension (descriptive text)
* `customer_signup_date` → dimension (use to filter by date)
* `customer_type` → dimension (category: individual/business)
* `first_order_date` → dimension (use to group/filter)
* `last_order_date` → dimension (use to group/filter)
* `lifetime_value` → measure (dollar amount to sum, average etc.)
* `avg_order_value` → measure (dollar amount to sum, average etc.)
* `total_orders` → measure (count to aggregate, average etc.)
## Step 3: Define Your First Metric
Let's create a "Total Lifetime Value" (revenue) metric.
**Create the metric:**
1. Click "Create Metric" in the ontology interface
2. Fill in:
* **Metric name:** Total Lifetime Value
* **Description:** Sum of lifetime\_value amounts
* **Aggregation:** Sum
3. Click "Create Metric"
**What You Just Did:**
You defined exactly how to calculate total lifetime value. Now whenever anyone asks about total lifetime value, Ana uses this exact calculation.
Create some more metrics that you want defined!
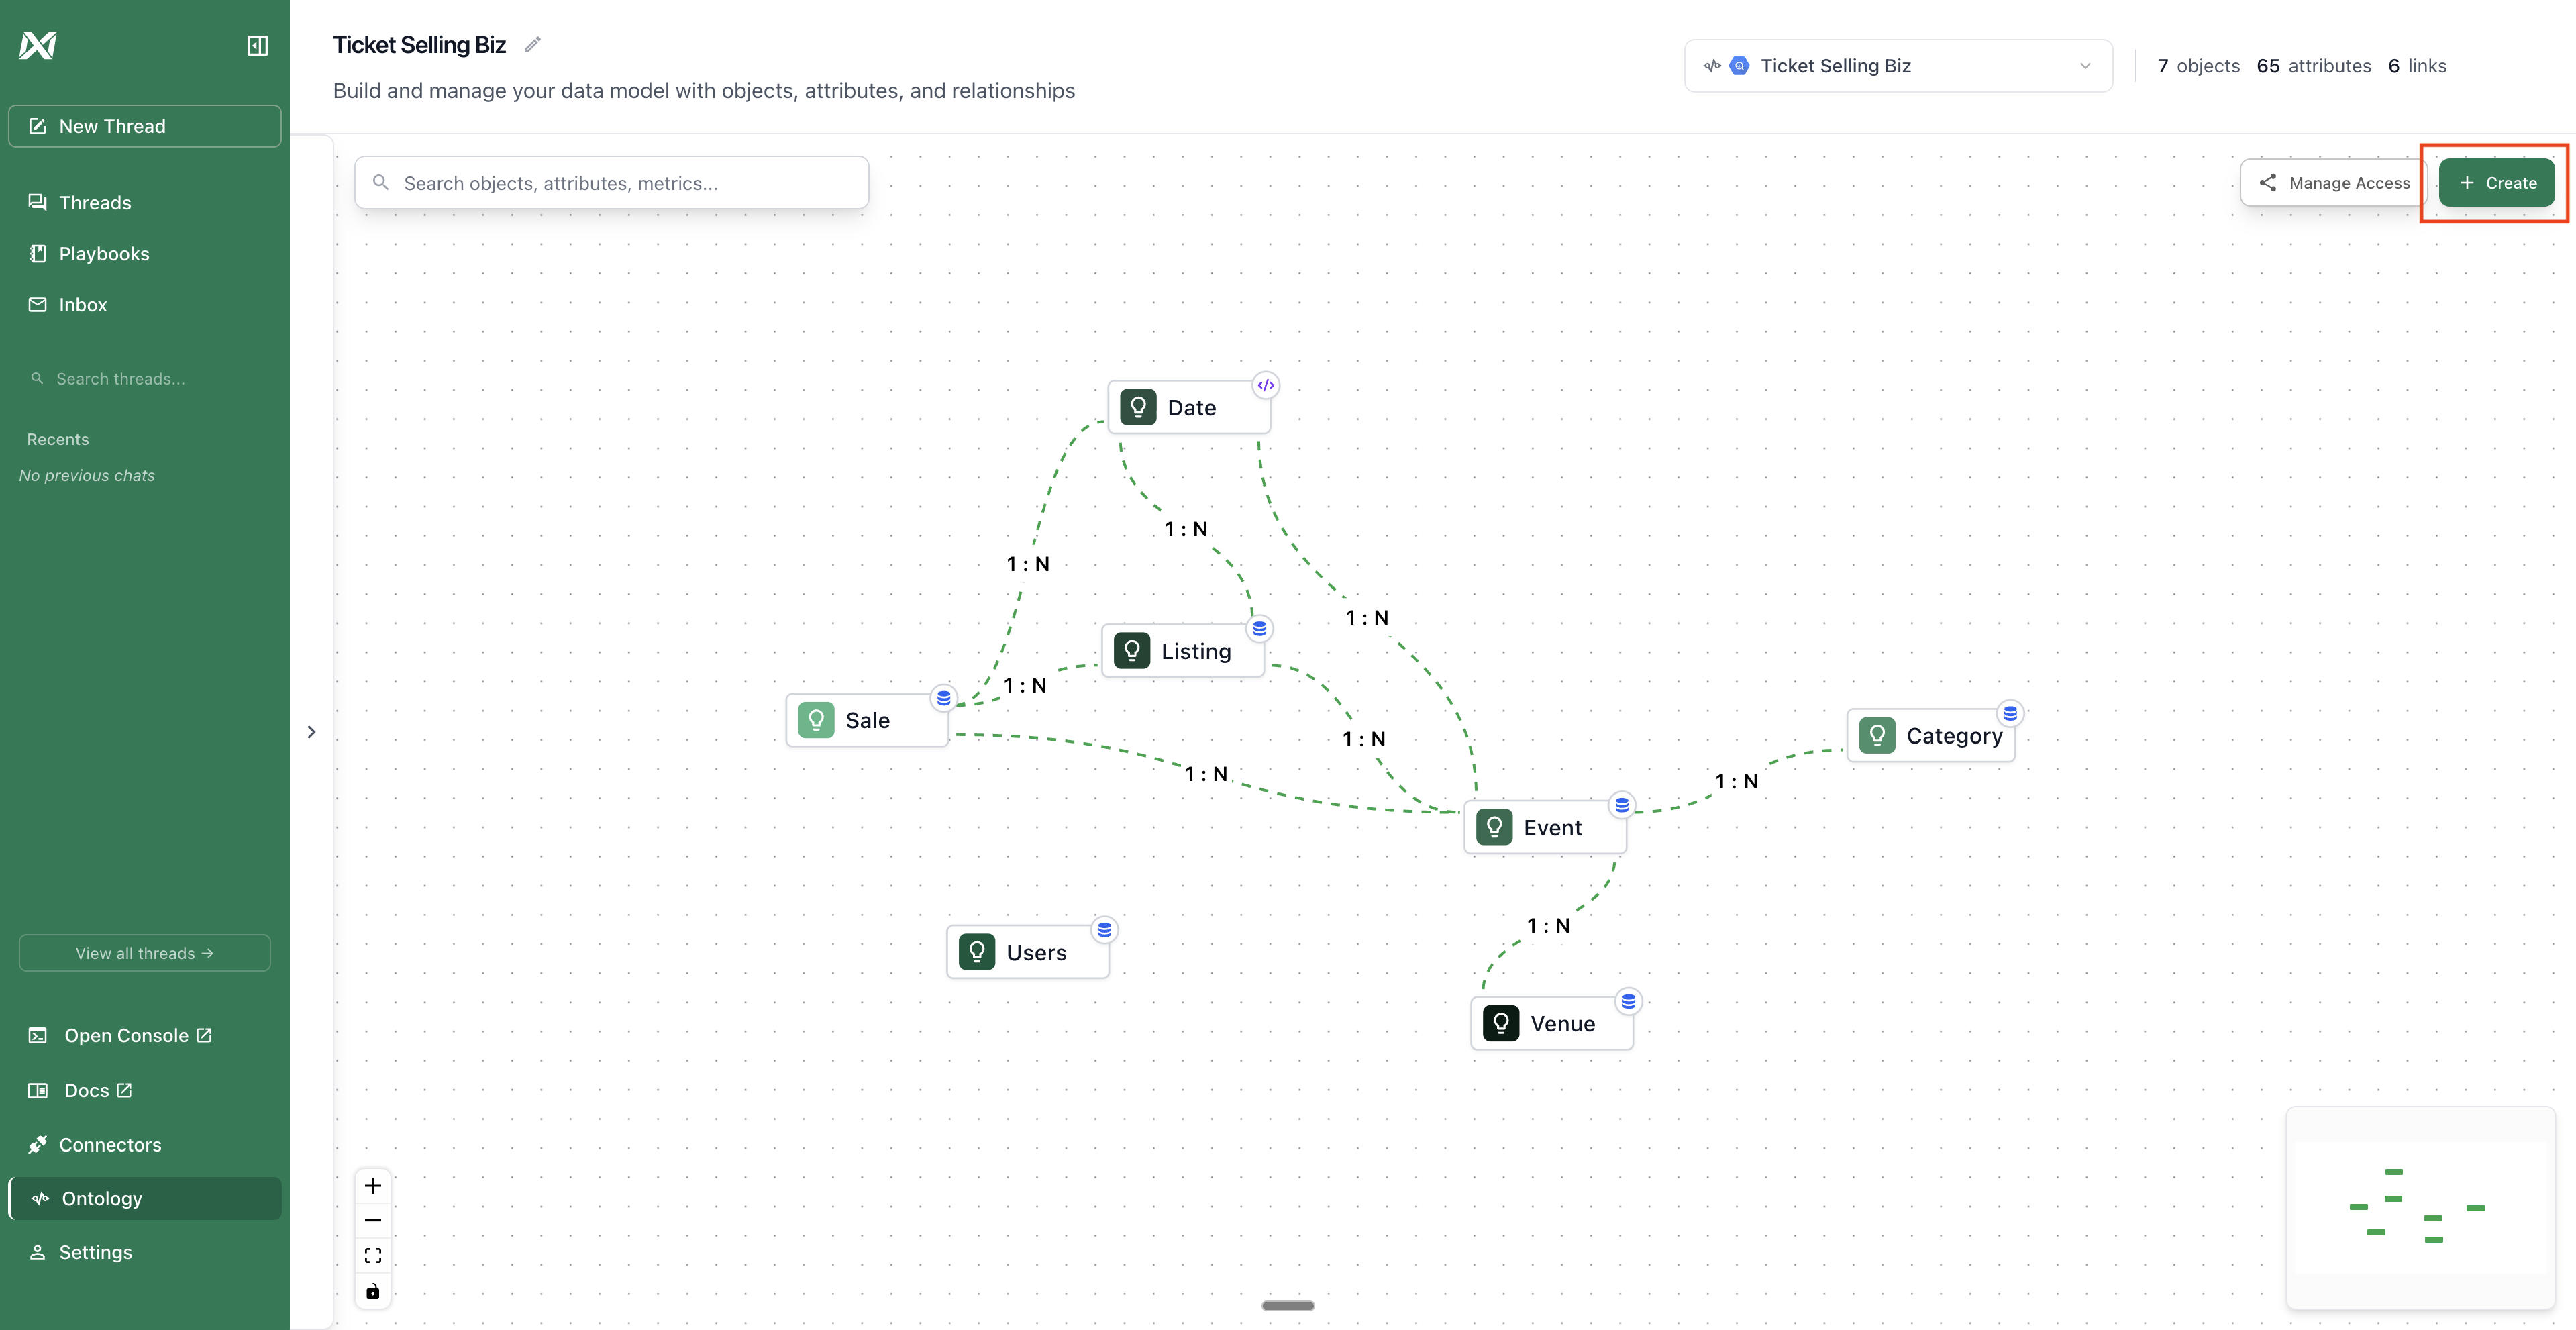
## Step 4: Create Links Between Objects
Now connect your objects so Ana understands relationships and how your data connects. Without links, Ana can only analyze one object at a time, but with links, it can combine data from multiple tables. Once you have multiple objects created, you can create links between the two tables.
**Link 1: Orders belong to Customers**
1. Select an object that you want to create a link for. Hit "Create" and select "Link".
2. Fill in:
* **Title:** Customer orders
* **Link source:** customers
* **Link destination:** orders
* **Source key:** customer\_id (in customers table)
* **Destination key:** customer\_id (in orders table)
3. Click "Create Link"
**What This Means:**
Many orders can belong to one customer. When you ask "show me orders by customer," Ana knows how to connect them.
## Step 1: Create Your First Object (Customer)
**Where to Start:**
1. Go to your Ontology Page
2. Click "Create Object"
**Backing Table:** Select `public.customers` (or your customers table)
* This is the database table that stores customer data
* Choose from the dropdown
**Object Name:** Customer
* Make it business-friendly
**Description:** Individual customers who purchase from our store
* Help others understand what this represents
* Be specific and clear
**Click "Create"**
**What You Just Did:**
You told Ana "there's a thing called Customer, it lives in the customers table, and each customer is uniquely identified by customer\_id."
## Step 2: Attributes
Attributes will auto populate once you select your table. We need to tag each attribute as a primary key, dimension, or measure.
Let's use our customer object example and how each of the columns should be identified:
* `customer_id` → primary key (unique identifier)
* `customer_name` → dimension (use to group/filter)
* `customer_email` → dimension (descriptive text)
* `customer_signup_date` → dimension (use to filter by date)
* `customer_type` → dimension (category: individual/business)
* `first_order_date` → dimension (use to group/filter)
* `last_order_date` → dimension (use to group/filter)
* `lifetime_value` → measure (dollar amount to sum, average etc.)
* `avg_order_value` → measure (dollar amount to sum, average etc.)
* `total_orders` → measure (count to aggregate, average etc.)
## Step 3: Define Your First Metric
Let's create a "Total Lifetime Value" (revenue) metric.
**Create the metric:**
1. Click "Create Metric" in the ontology interface
2. Fill in:
* **Metric name:** Total Lifetime Value
* **Description:** Sum of lifetime\_value amounts
* **Aggregation:** Sum
3. Click "Create Metric"
**What You Just Did:**
You defined exactly how to calculate total lifetime value. Now whenever anyone asks about total lifetime value, Ana uses this exact calculation.
Create some more metrics that you want defined!
## Step 4: Create Links Between Objects
Now connect your objects so Ana understands relationships and how your data connects. Without links, Ana can only analyze one object at a time, but with links, it can combine data from multiple tables. Once you have multiple objects created, you can create links between the two tables.
**Link 1: Orders belong to Customers**
1. Select an object that you want to create a link for. Hit "Create" and select "Link".
2. Fill in:
* **Title:** Customer orders
* **Link source:** customers
* **Link destination:** orders
* **Source key:** customer\_id (in customers table)
* **Destination key:** customer\_id (in orders table)
3. Click "Create Link"
**What This Means:**
Many orders can belong to one customer. When you ask "show me orders by customer," Ana knows how to connect them.