> ## Documentation Index
> Fetch the complete documentation index at: https://docs.textql.com/llms.txt
> Use this file to discover all available pages before exploring further.
# HubSpot Connector
> Query and analyze your HubSpot deals, contacts, pipelines, and ticket data directly in Ana.
### **1. Overview**
The Ana x HubSpot integration connects your HubSpot CRM to Ana, giving you natural language access to your team's deals, contacts, pipelines, and ticket data. Once configured, Ana can query deal statuses, track pipeline progress, surface at-risk opportunities, and analyze sales performance directly in Ana.
Connect HubSpot to Ana to query and analyze your team's CRM and sales data using natural language.
### **2. Prerequisites**
You'll need:
* A HubSpot account you want Ana to query
* Owner or admin access to your HubSpot workspace if you are setting up an org-level integration
* A TextQL account with permission to add API connectors
### Which type of connection should I use?
| | **API Token** | **OAuth (Org-level)** | OAuth (Per-member) |
| ------------------- | --------------------------------------------------------------------------------------------- | ----------------------------------------------- | ------------------------------------------------------- |
| **Best For** | Individual users, service accounts, or shared team access tied to a single user's permissions | Shared team access to a single HubSpot portal | Individual user access with personal permissions |
| **Scope** | Access tied to the token owner's permissions | Full org workspace access under one shared auth | Each user queries HubSpot as themselves |
| **Authentication** | API Token from HubSpot settings | One-time OAuth flow by an admin | Each member completes their own OAuth flow |
| **Data Visibility** | Limited to what the token owner can see | Consistent view across all Ana users | Each user sees only what they have access to in HubSpot |
### **3. Capabilities**
Once configured, Ana can:
* Query open, active, or stalled deals across any pipeline or sales team in plain language.
* Track how many deals are in each stage and identify which ones haven't had recent activity.
* Analyze lead sources, conversion rates, and sales performance over time.
* Get a snapshot of contact and company data, including follow-up status and engagement history.
* Surface at-risk opportunities and highlight tickets that need attention across your team.
### **4. Setup Instructions**
***
### Step 1: Generate your HubSpot credentials
Before you begin, choose your connection type. If you're unsure, refer to [Which type of connection should I use?](#which-type-of-connection-should-i-use) Then follow the instructions below for your chosen type.
1. Login to HubSpot
2. Click on **Settings** (gear icon at the top right)
3. In the left sidebar, scroll down to **Integrations** and click **Private Apps** or **Personal Access Key**
4. Scroll down and click **Generate token**
5. Click **Show** to reveal the token, then click **Copy**
New to the command line? The "terminal" (also called CLI, or "command line") is an app where you type commands instead of clicking buttons. On Mac, open it by pressing `Cmd + Space`, typing "Terminal", and hitting Enter. On Windows, search for "Command Prompt" or "PowerShell" in the Start menu. You'll type each command below, then press Enter to run it. Don't type the word `bash` , that's just labeling which kind of command it is.
**Before you start:** These steps require Node.js to be installed (it provides the `npm` command). If you're not sure whether you have it, type `npm -v` and press Enter. If you see a version number, you're good. If you see "command not found," install Node.js from [nodejs.org](https://nodejs.org) first.
#### 1. Install the HubSpot CLI
A one-time install that gives you the `hs` command.
```bash theme={null}
npm install -g @hubspot/cli
```
Press Enter and wait for it to finish.
#### 2. Create the project
Run:
```bash theme={null}
hs project create
```
You'll be prompted with the following — answer as shown:
| Prompt | What to enter |
| -------------------------------------- | --------------------------------------------------- |
| Enter your project name | Any name you like, e.g. `ana-hubspot` |
| Choose where to create the project | Pick a folder, or press Enter for the suggested one |
| Choose what to include in your project | **App** |
| Choose how to distribute your app | **Privately** |
| Choose your authentication type | **OAuth** |
| Choose which features to add | Press Enter to skip |
When it's done, you'll see a green `SUCCESS` message telling you where the project was created. Take note of that folder location — you'll need it next.
#### 3. Find and open the config file
You need to edit one file inside your new project. To locate it, run the command below, replacing `` with your actual Mac username:
```bash theme={null}
find /Users/ -name "app-hsmeta.json" 2>/dev/null
```
This prints the file's full path, which looks like:
```
/Users///src/app/app-hsmeta.json
```
Open it in your default editor:
```bash theme={null}
open /Users///src/app/app-hsmeta.json
```
#### 4. Edit the redirect URL
Inside the file, find the section labeled `redirectUrls`. Replace the existing URL (`http://localhost:3000`) so it looks exactly like this:
```json theme={null}
"redirectUrls": [
"https://app.textql.com/auth/api-oauth/callback"
]
```
Save the file with **Cmd + S**, then close the editor.
#### 5. Upload the project to HubSpot
Back in the terminal, move into your project folder first. The `cd` command means "change directory" — it tells the terminal which folder to work in.
```bash theme={null}
cd /Users//
```
Instead of typing the long folder path, type `cd` (with a space after it), then drag the project folder from Finder onto the terminal window — it'll fill in the path automatically.
Then upload:
```bash theme={null}
hs project upload
```
If it asks *"The project does not exist... Would you like to create it?"*, type `Yes` and press Enter.
You'll see a series of `SUCCESS` and `DONE` messages as it creates, builds, and deploys the project. Once you see `Deployed build #1 ... DONE`, you're finished with the terminal.
#### 6. Get your credentials
Open this link in your browser, replacing the bracketed parts with your own account ID and project name:
```
https://app.hubspot.com/developer-projects//project/
```
Click your app, scroll down, and copy these three values for the next step:
| Value | How to get it |
| ----------------- | ----------------------------------------------------------------- |
| **Client ID** | Copy it |
| **Client Secret** | Click **Show**, then copy it |
| **Redirect URL** | Confirm it shows `https://app.textql.com/auth/api-oauth/callback` |
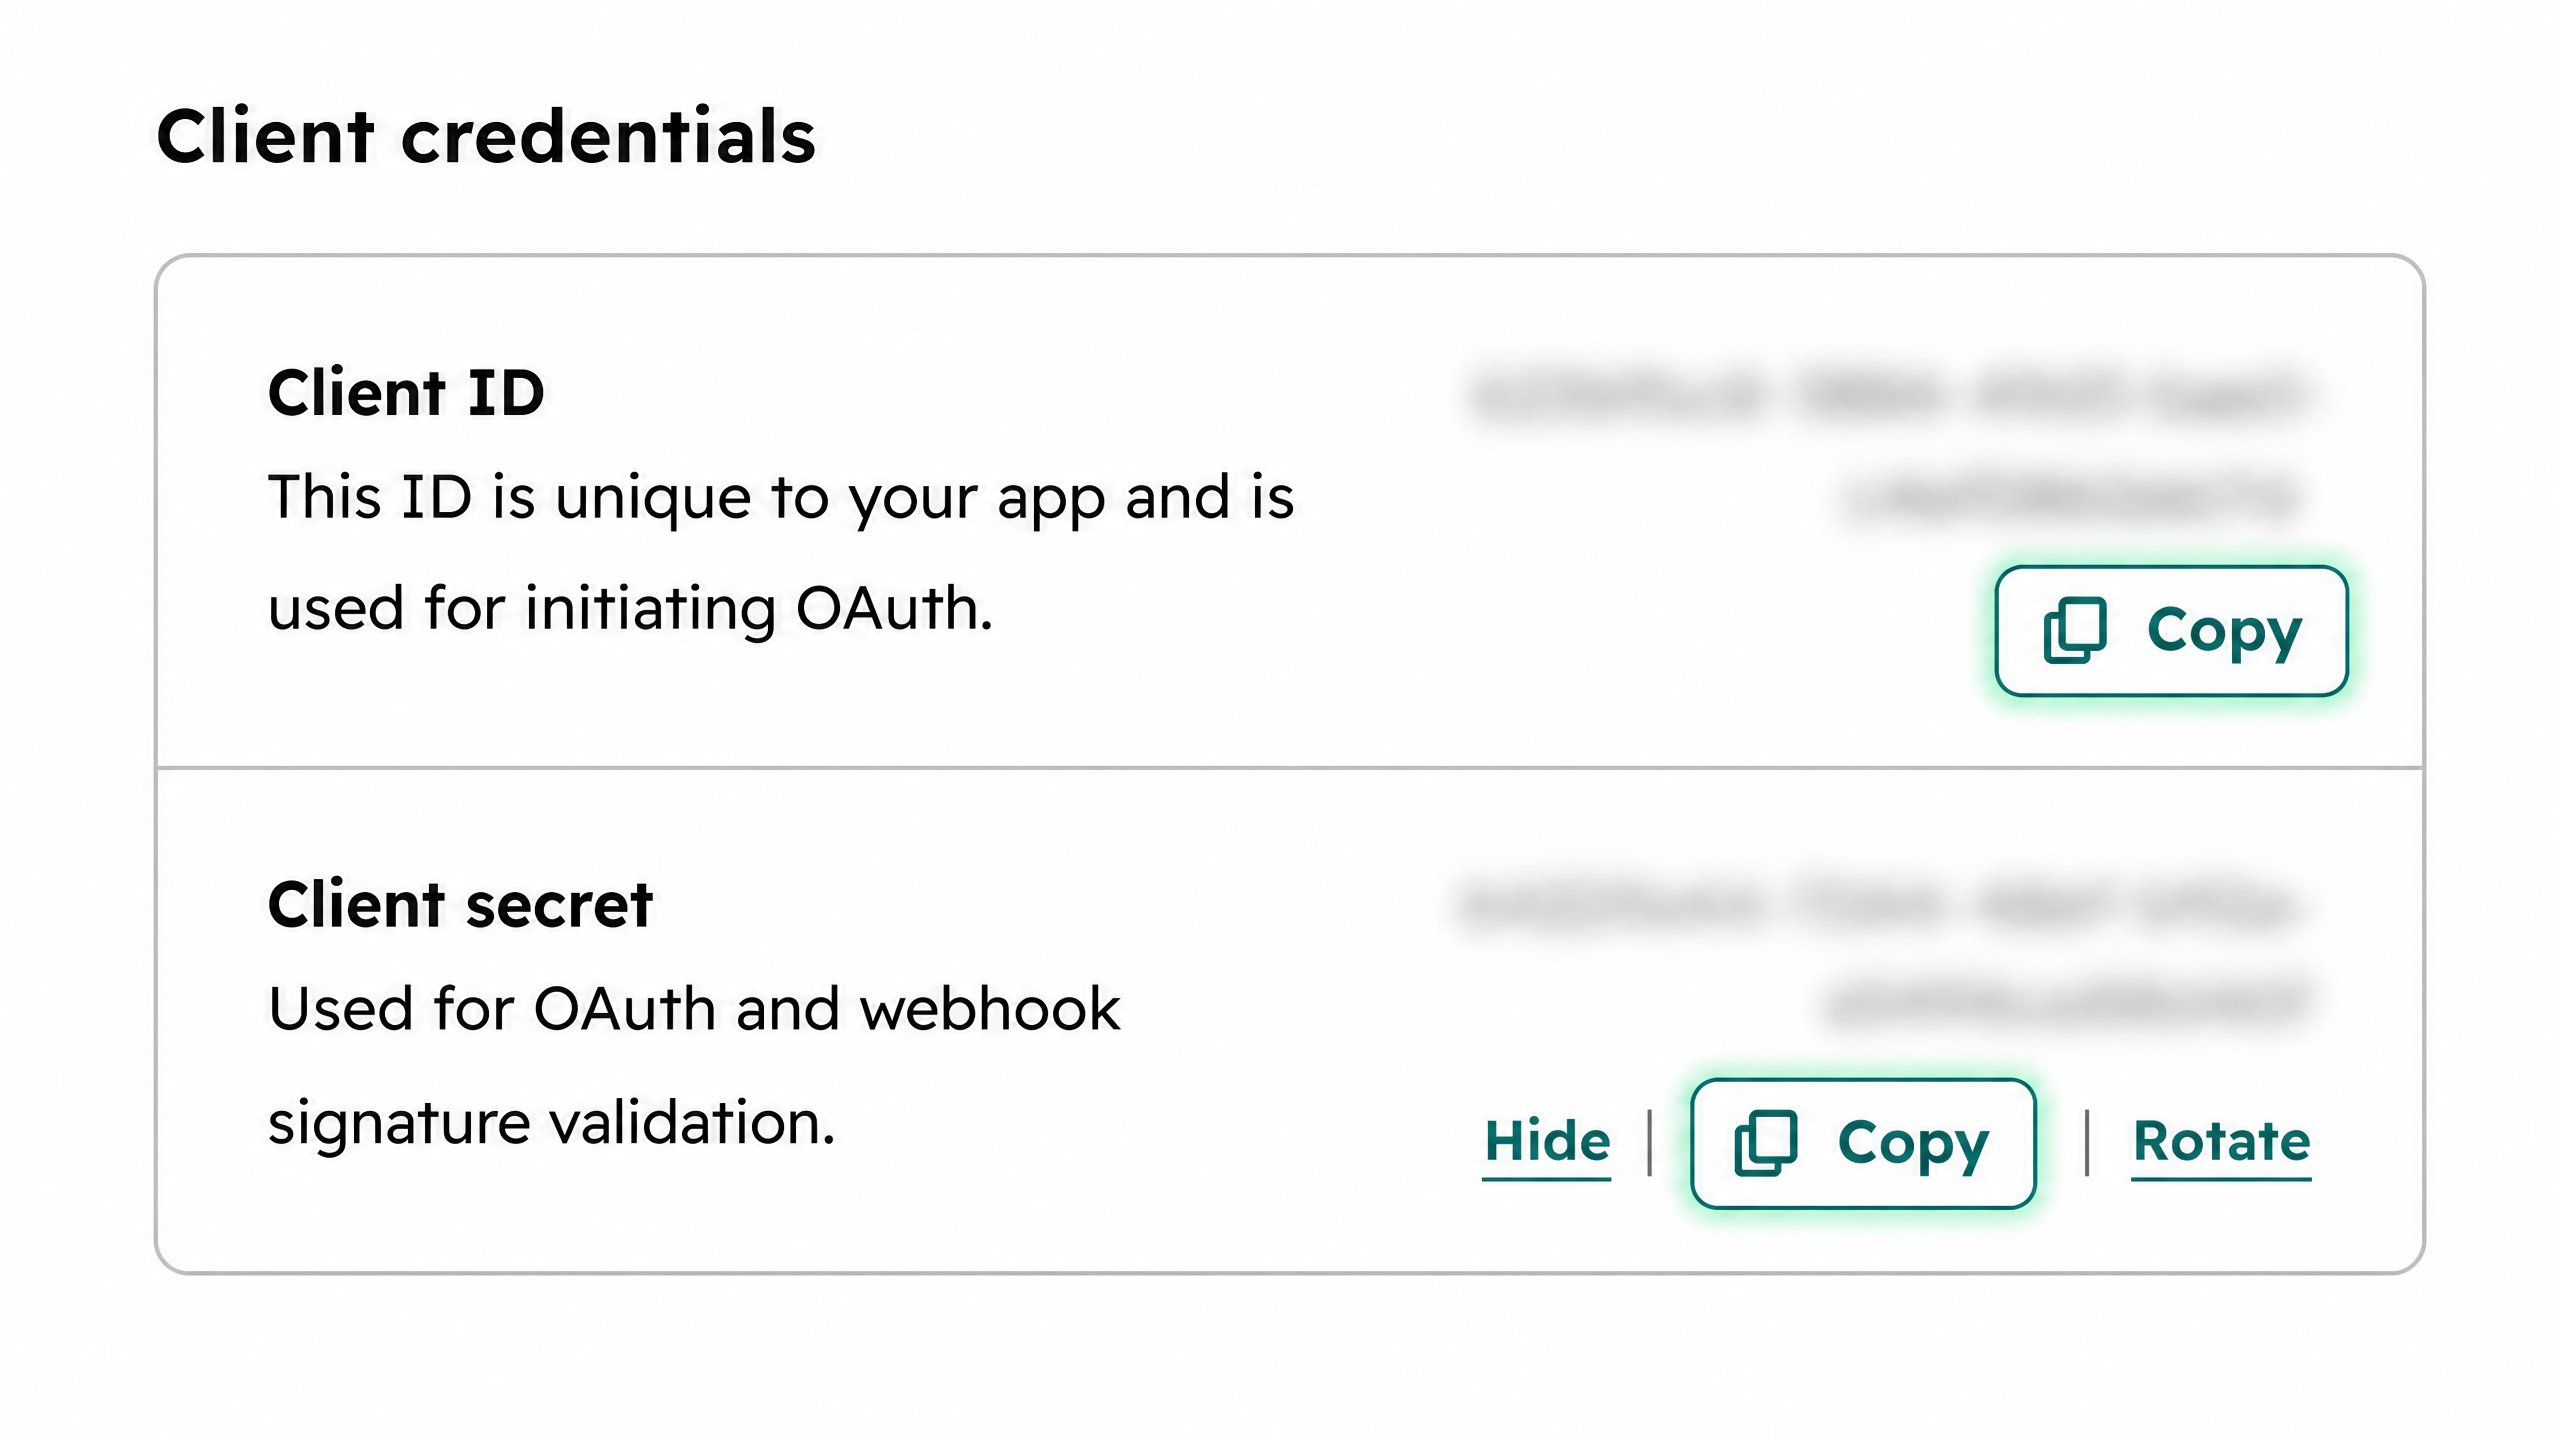 Treat the **Client Secret** like a password. Don't commit it to source control or share it in plain text — paste it only into the secure field it's needed for.
***
### Step 2: Add HubSpot as an API connector in TextQL
Treat the **Client Secret** like a password. Don't commit it to source control or share it in plain text — paste it only into the secure field it's needed for.
***
### Step 2: Add HubSpot as an API connector in TextQL
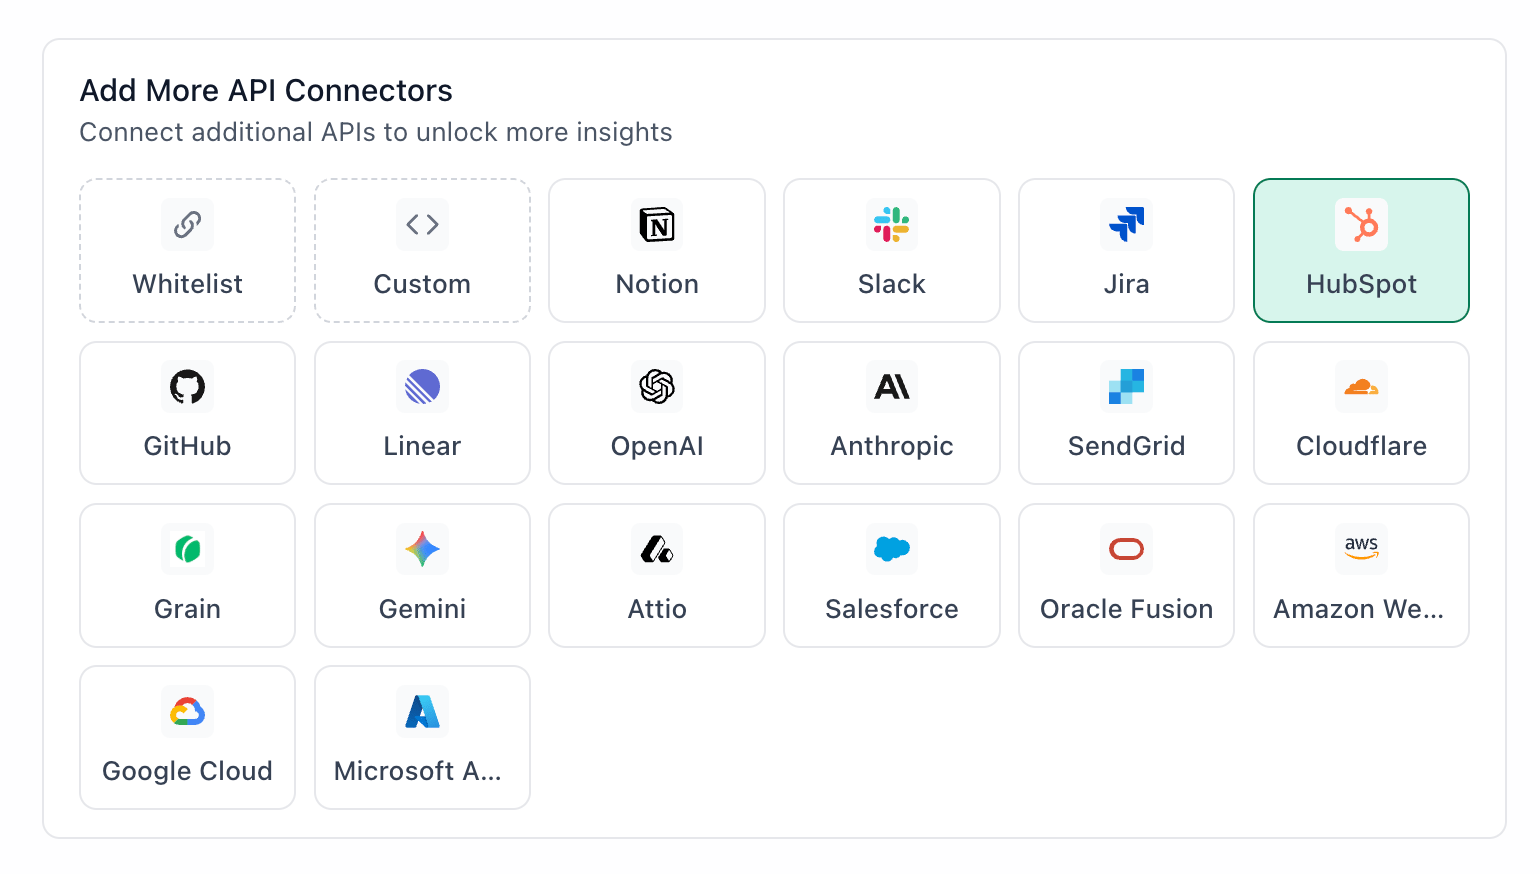 1. Go to [app.textql.com](https://app.textql.com/) and sign in.
2. In the bottom left sidebar, click **Connectors > APIs** and select **HubSpot**.
3. In the configuration panel, fill in the fields depending on your connection type:
* **API Token**
* Name (e.g. HubSpot `API Token`)
* Authentication type: select **API Token**
* Token: paste the token copied from Step 1
* **OAuth (Org-level or Per-member)**
* Name (e.g. HubSpot `OAuth`)
* Authentication type: select **OAuth (org-level)** or **OAuth (per-member)**
* Client ID and Client Secret: paste the values copied from Step 1
* Scopes: enter `oauth crm.objects.contacts.read crm.objects.contacts.write`
* Grant Type: select **Authorization Code**
* Token Auth Method: select **POST params**
* Authorization URL: `https://app.hubspot.com/oauth/authorize`
* Token URL: `https://api.hubspot.com/oauth/v3/token`
* Hosts: `https://api.hubapi.com:443`
* OAuth Authentication: click **Authenticate** — a popup will appear asking for permissions to access your HubSpot account. Click **Allow**.
4. Click **Save**.
### Step 3: Verify the connection
Once saved, confirm the connector is active:
1. Click on the HubSpot connector and select Test Connection at the bottom of the panel.
* A successful setup will return Connection successful (200).
* If the test fails, refer to the [Troubleshooting](#6-troubleshooting) section for next steps.
***
### **5. Usage Examples**
Once configured, you can ask Ana:
* "Show me all deals over \$50k that haven't been updated in more than 10 days.”
* "Which deals are expected to close this quarter but have no recent activity?”
* "Find all contacts who attended a webinar but haven't been followed up with.”
* "How many leads came from paid search vs. organic last quarter?”
* "What's the average ticket resolution time by team this month?”
### **6. Troubleshooting**
| **Symptom** | **Likely Cause** | **Fix** |
| ---------------------------------------------------------------- | --------------------------------------------------- | ----------------------------------------------------------------------------------------------------------------------------------------------------------------------------------------------------------------------------------------------------- |
| Could not find OAuth client with clientId (OAuth) | Client ID or secret were not configured or expired | Confirm the Client ID and Client Secret were pasted correctly in Connectors → APIs → HubSpot with no extra spaces. If authentication has expired or been revoked, re-run the OAuth authentication flow in TextQL and authorize the application again. |
| Authentication failed (OAuth org-level or per-member) | Incorrect redirect URL | In your HubSpot settings, make sure [https://app.textql.com/auth/api-oauth/callback](https://app.textql.com/auth/api-oauth/callback) is listed exactly as a redirect URL. |
| `cd: no such file or directory` when running `hs project upload` | Wrong directory path | Run `find /Users/ -name "app-hsmeta.json" 2>/dev/null` to locate the correct folder, then `cd` into it before uploading. |
| Missing required parameter: scope | No scopes added | In the Scopes field in TextQL, enter: |
| \`oauth | | |
| crm.objects.contacts.read crm.objects.contacts.write\` | | |
### **7. Security Notes**
* Follow the principle of least privilege when creating Private Apps or OAuth applications in HubSpot. Grant only the scopes required for Ana to query the data you need — for example, if you only need deal and contact data, do not enable scopes for billing or account settings.
* Private App tokens remain valid until they are manually revoked. Store them securely and rotate them if you suspect they have been exposed.
* OAuth access may require re-authentication if the connected user's HubSpot account is deactivated, their role is changed, or the OAuth app's authorization is revoked from within HubSpot.
* Do not share Private App tokens, client secrets, or OAuth credentials in email, chat, tickets, or other unsecured locations.
* If you no longer need the integration, revoke the Private App's token or remove the OAuth app's access under **HubSpot Settings > Integrations > Private Apps**, and remove the connector from TextQL.
* For more details on how HubSpot handles API authentication and token security, refer to the [HubSpot Developer Documentation](https://developers.hubspot.com/docs/api/overview).
***
### **Need Help?**
For further assistance, please contact [support@textql.com](mailto:support@textql.com).
### **Privacy Policy**
For information about how we handle your data and protect your privacy, please review our [Privacy Policy](https://textql.com/privacy).
1. Go to [app.textql.com](https://app.textql.com/) and sign in.
2. In the bottom left sidebar, click **Connectors > APIs** and select **HubSpot**.
3. In the configuration panel, fill in the fields depending on your connection type:
* **API Token**
* Name (e.g. HubSpot `API Token`)
* Authentication type: select **API Token**
* Token: paste the token copied from Step 1
* **OAuth (Org-level or Per-member)**
* Name (e.g. HubSpot `OAuth`)
* Authentication type: select **OAuth (org-level)** or **OAuth (per-member)**
* Client ID and Client Secret: paste the values copied from Step 1
* Scopes: enter `oauth crm.objects.contacts.read crm.objects.contacts.write`
* Grant Type: select **Authorization Code**
* Token Auth Method: select **POST params**
* Authorization URL: `https://app.hubspot.com/oauth/authorize`
* Token URL: `https://api.hubspot.com/oauth/v3/token`
* Hosts: `https://api.hubapi.com:443`
* OAuth Authentication: click **Authenticate** — a popup will appear asking for permissions to access your HubSpot account. Click **Allow**.
4. Click **Save**.
### Step 3: Verify the connection
Once saved, confirm the connector is active:
1. Click on the HubSpot connector and select Test Connection at the bottom of the panel.
* A successful setup will return Connection successful (200).
* If the test fails, refer to the [Troubleshooting](#6-troubleshooting) section for next steps.
***
### **5. Usage Examples**
Once configured, you can ask Ana:
* "Show me all deals over \$50k that haven't been updated in more than 10 days.”
* "Which deals are expected to close this quarter but have no recent activity?”
* "Find all contacts who attended a webinar but haven't been followed up with.”
* "How many leads came from paid search vs. organic last quarter?”
* "What's the average ticket resolution time by team this month?”
### **6. Troubleshooting**
| **Symptom** | **Likely Cause** | **Fix** |
| ---------------------------------------------------------------- | --------------------------------------------------- | ----------------------------------------------------------------------------------------------------------------------------------------------------------------------------------------------------------------------------------------------------- |
| Could not find OAuth client with clientId (OAuth) | Client ID or secret were not configured or expired | Confirm the Client ID and Client Secret were pasted correctly in Connectors → APIs → HubSpot with no extra spaces. If authentication has expired or been revoked, re-run the OAuth authentication flow in TextQL and authorize the application again. |
| Authentication failed (OAuth org-level or per-member) | Incorrect redirect URL | In your HubSpot settings, make sure [https://app.textql.com/auth/api-oauth/callback](https://app.textql.com/auth/api-oauth/callback) is listed exactly as a redirect URL. |
| `cd: no such file or directory` when running `hs project upload` | Wrong directory path | Run `find /Users/ -name "app-hsmeta.json" 2>/dev/null` to locate the correct folder, then `cd` into it before uploading. |
| Missing required parameter: scope | No scopes added | In the Scopes field in TextQL, enter: |
| \`oauth | | |
| crm.objects.contacts.read crm.objects.contacts.write\` | | |
### **7. Security Notes**
* Follow the principle of least privilege when creating Private Apps or OAuth applications in HubSpot. Grant only the scopes required for Ana to query the data you need — for example, if you only need deal and contact data, do not enable scopes for billing or account settings.
* Private App tokens remain valid until they are manually revoked. Store them securely and rotate them if you suspect they have been exposed.
* OAuth access may require re-authentication if the connected user's HubSpot account is deactivated, their role is changed, or the OAuth app's authorization is revoked from within HubSpot.
* Do not share Private App tokens, client secrets, or OAuth credentials in email, chat, tickets, or other unsecured locations.
* If you no longer need the integration, revoke the Private App's token or remove the OAuth app's access under **HubSpot Settings > Integrations > Private Apps**, and remove the connector from TextQL.
* For more details on how HubSpot handles API authentication and token security, refer to the [HubSpot Developer Documentation](https://developers.hubspot.com/docs/api/overview).
***
### **Need Help?**
For further assistance, please contact [support@textql.com](mailto:support@textql.com).
### **Privacy Policy**
For information about how we handle your data and protect your privacy, please review our [Privacy Policy](https://textql.com/privacy).