Tableau Authentication Credentials
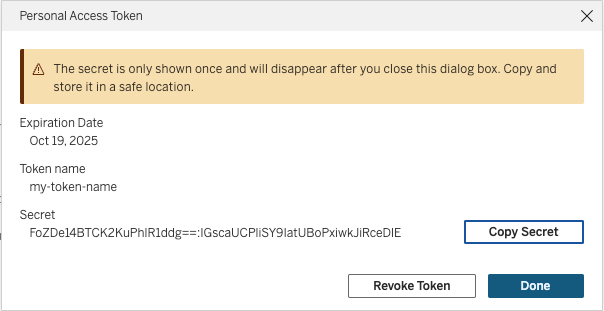
Generate a personal access token (PAT) for your Tableau account.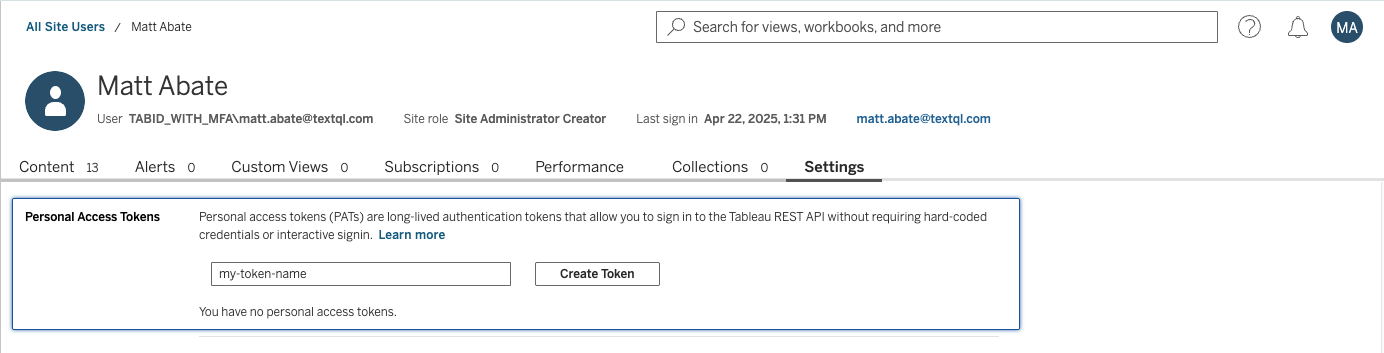
Creating the Connector in TextQL
Navigate to the TextQL Connectors Page and click Create New Connector. Then submit the creation form with Tableau selected. This will open a form for entering the credentials for reaching your Tableau connected app.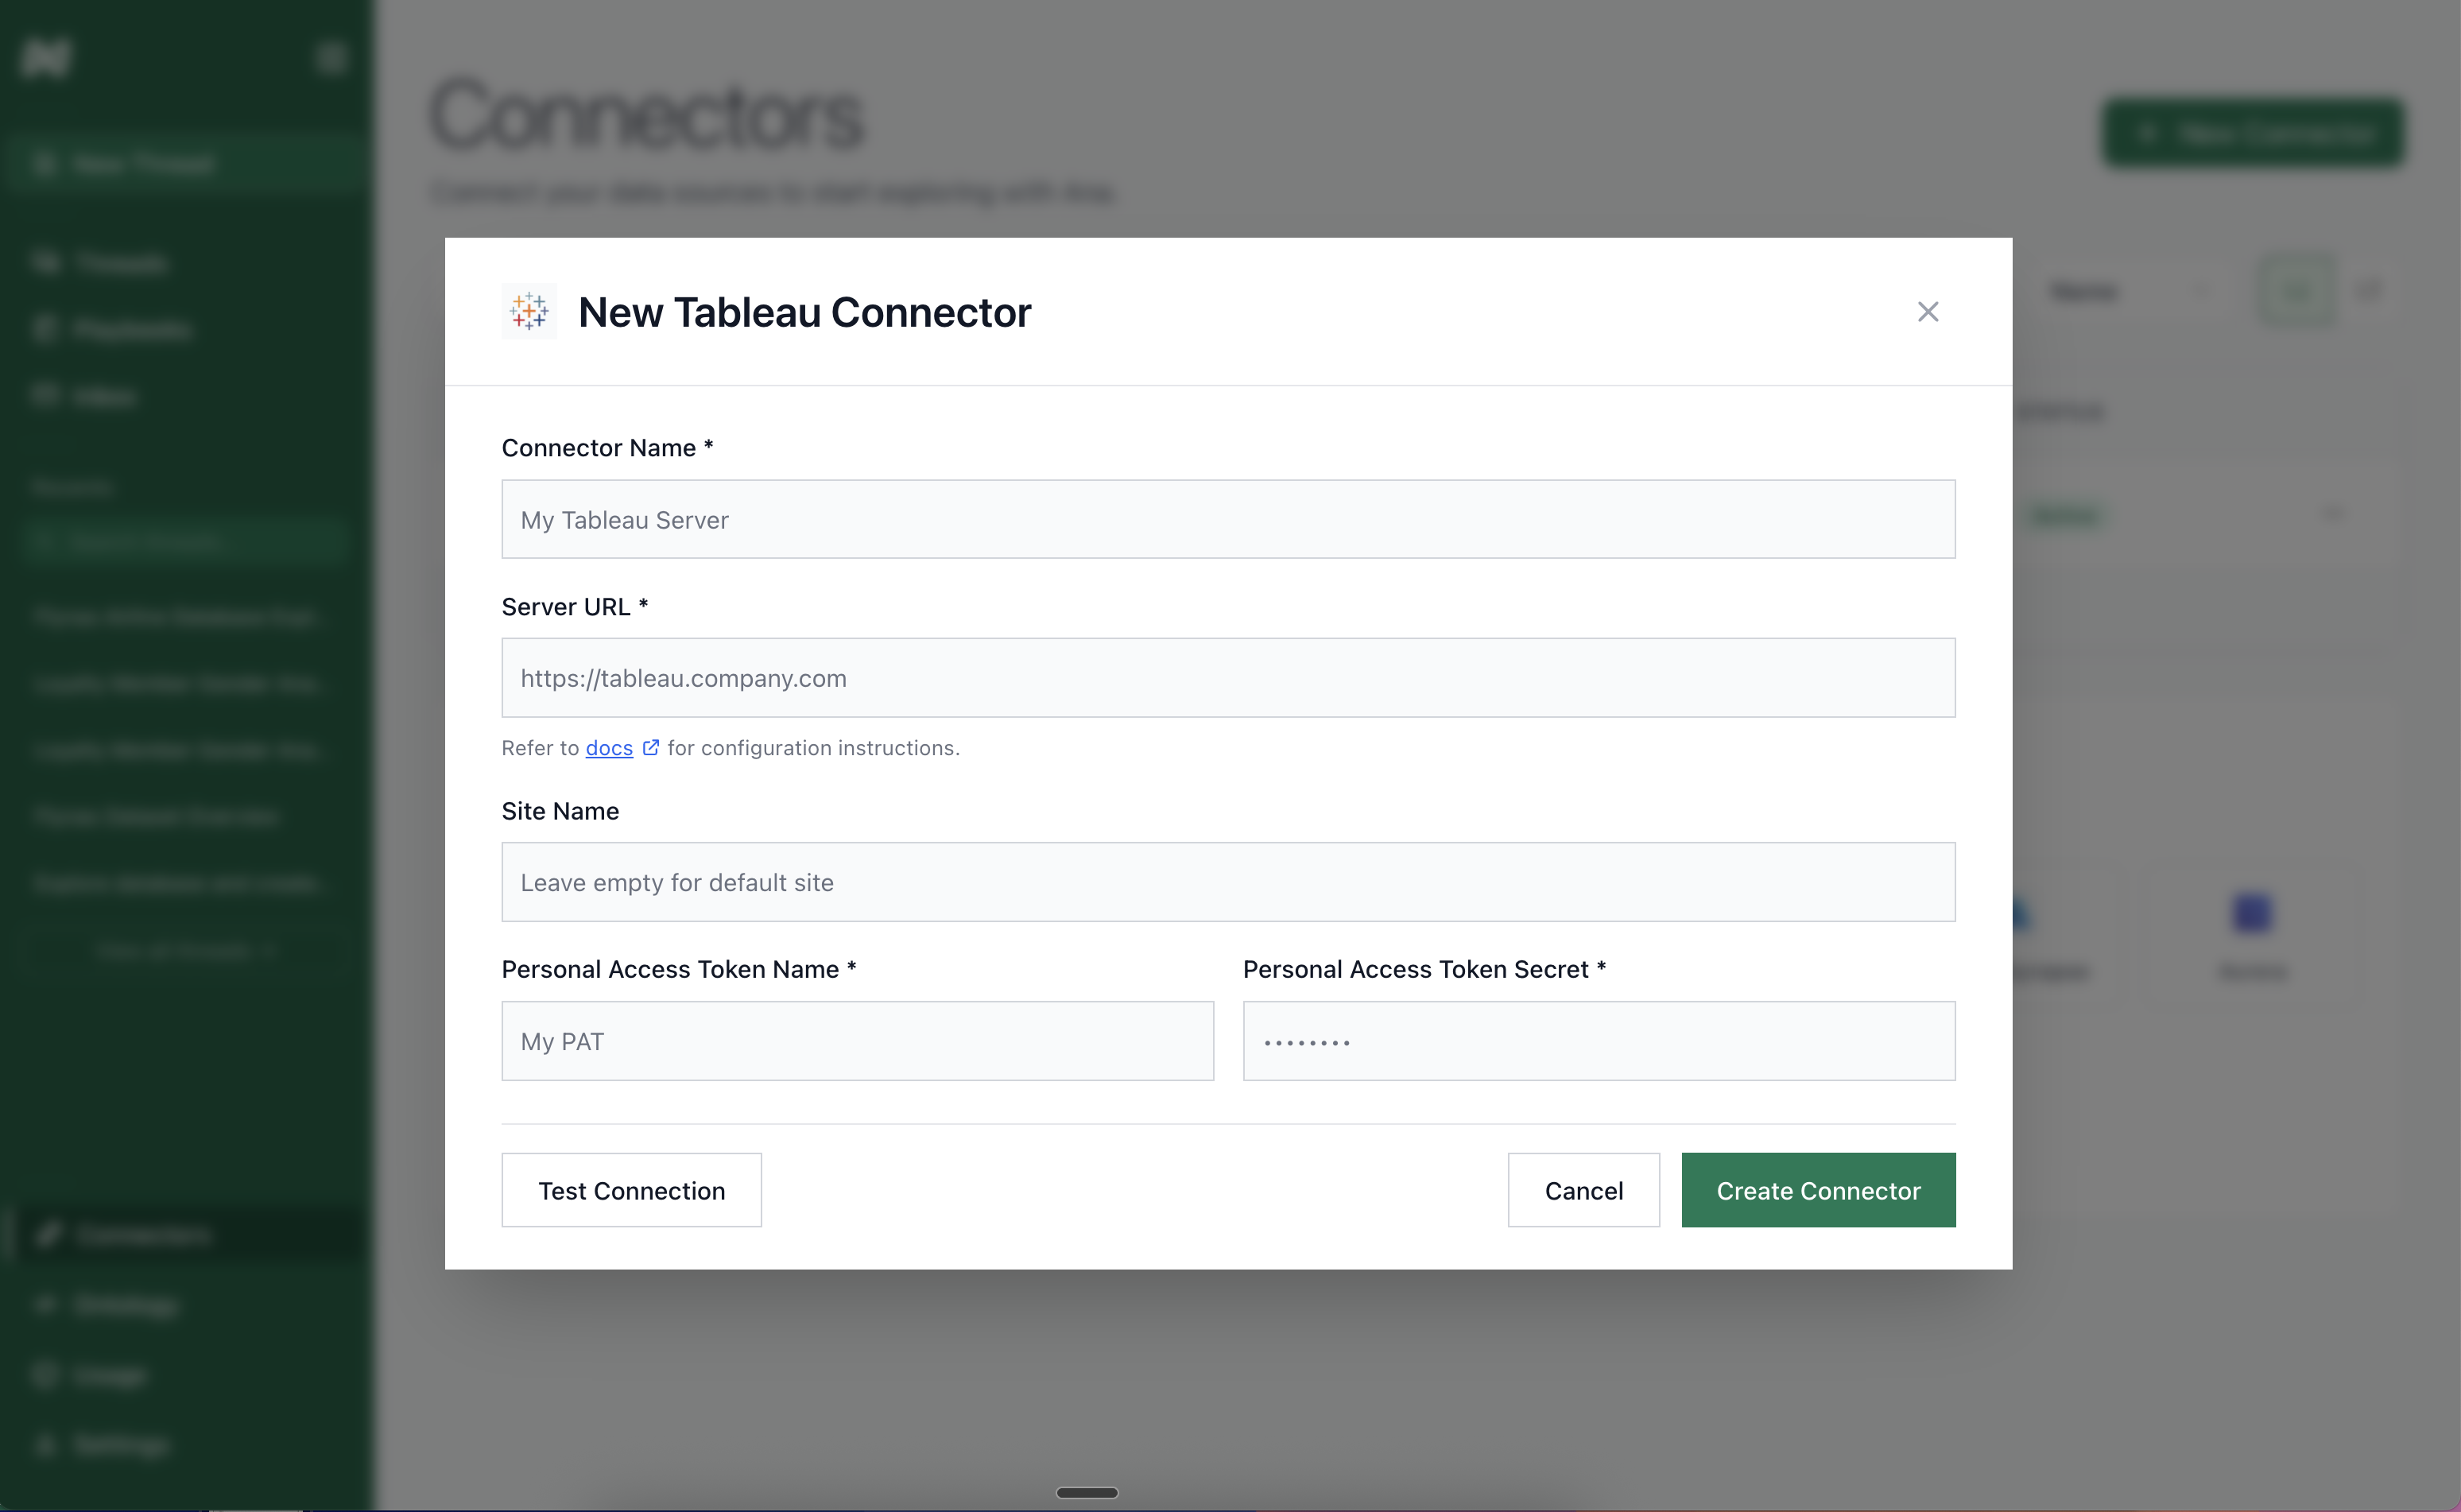
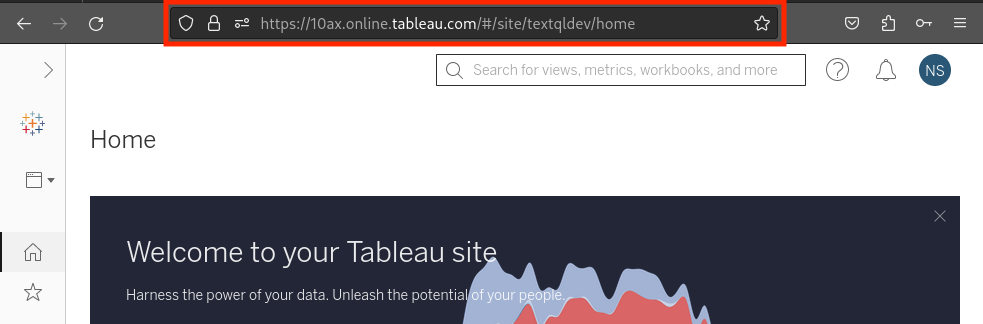
https://10ax.online.Tableau.com/#/site/textqldev/home. From the server url, you can additionally extract your
- Server: the base url, for example,
https://10ax.online.Tableau.com, and your - Site: which is found in the server url after the “site/,” for example, “textqldev.”
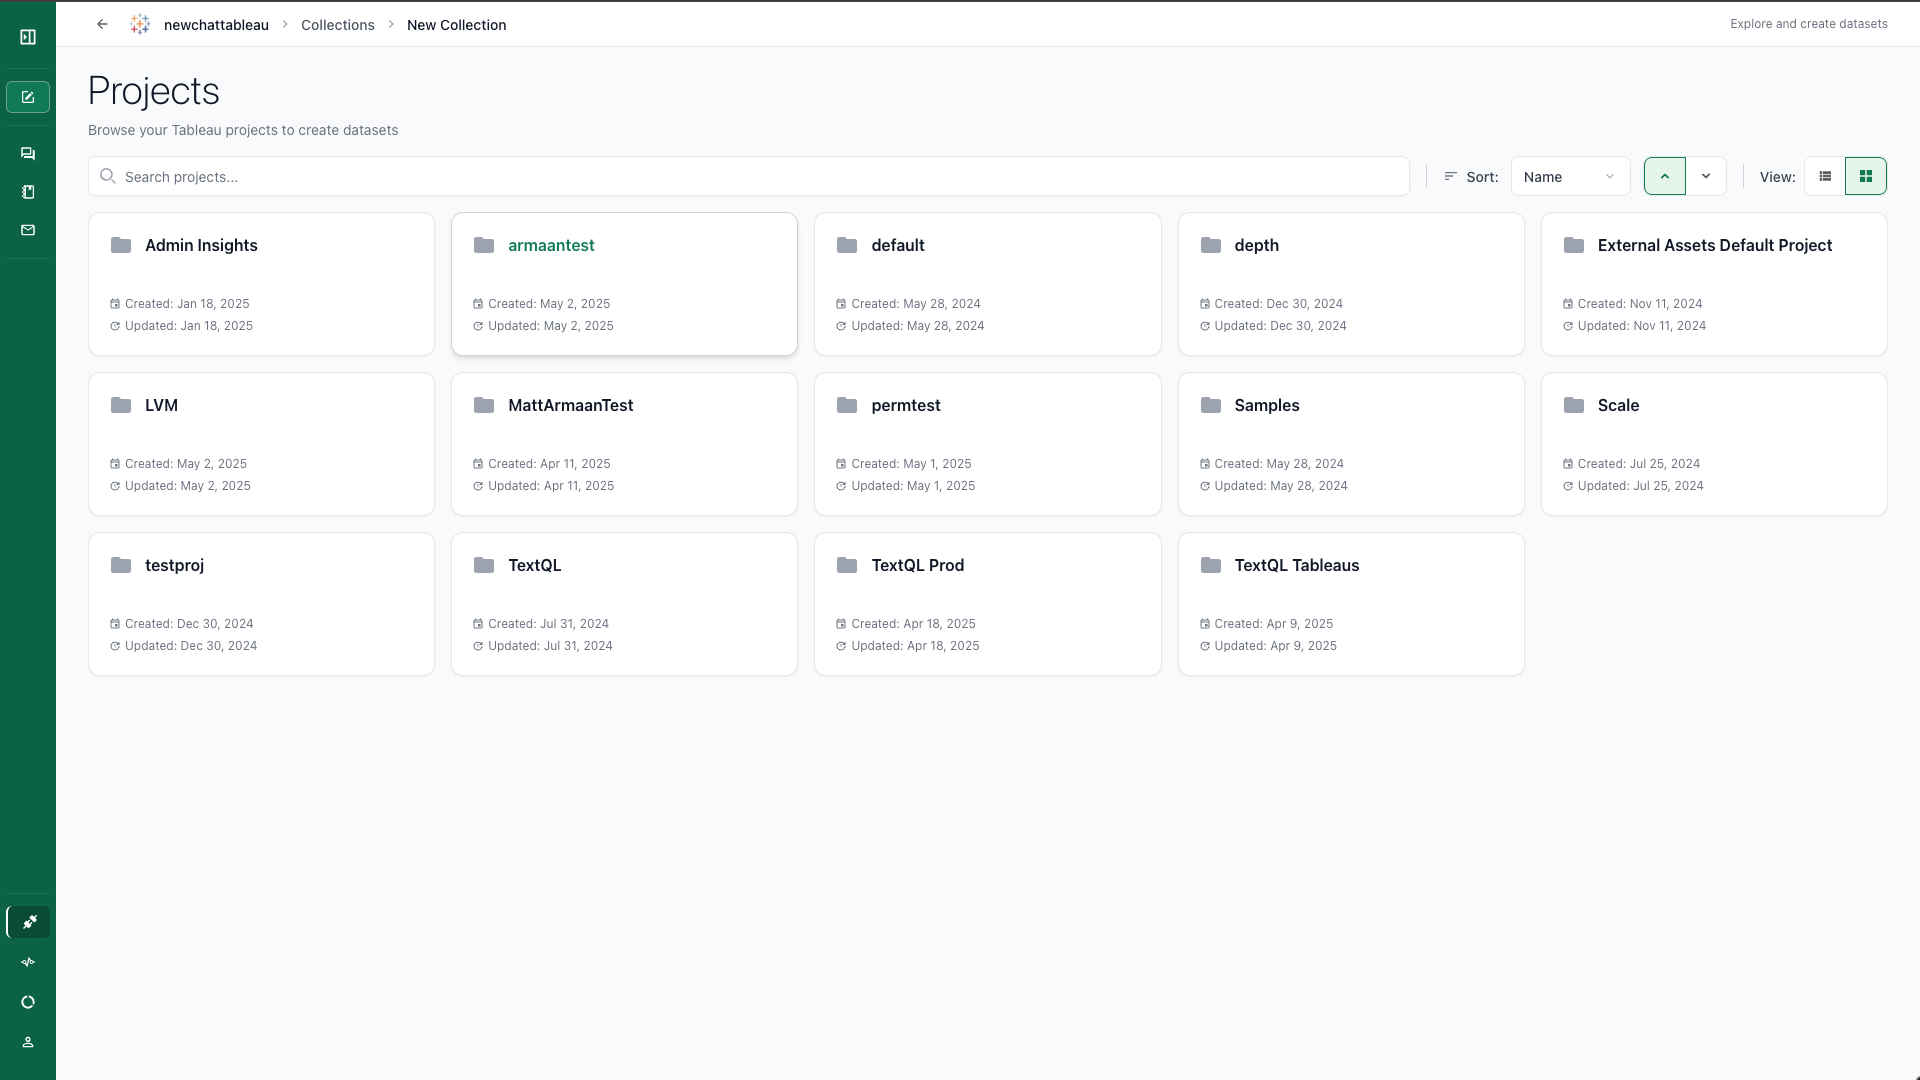
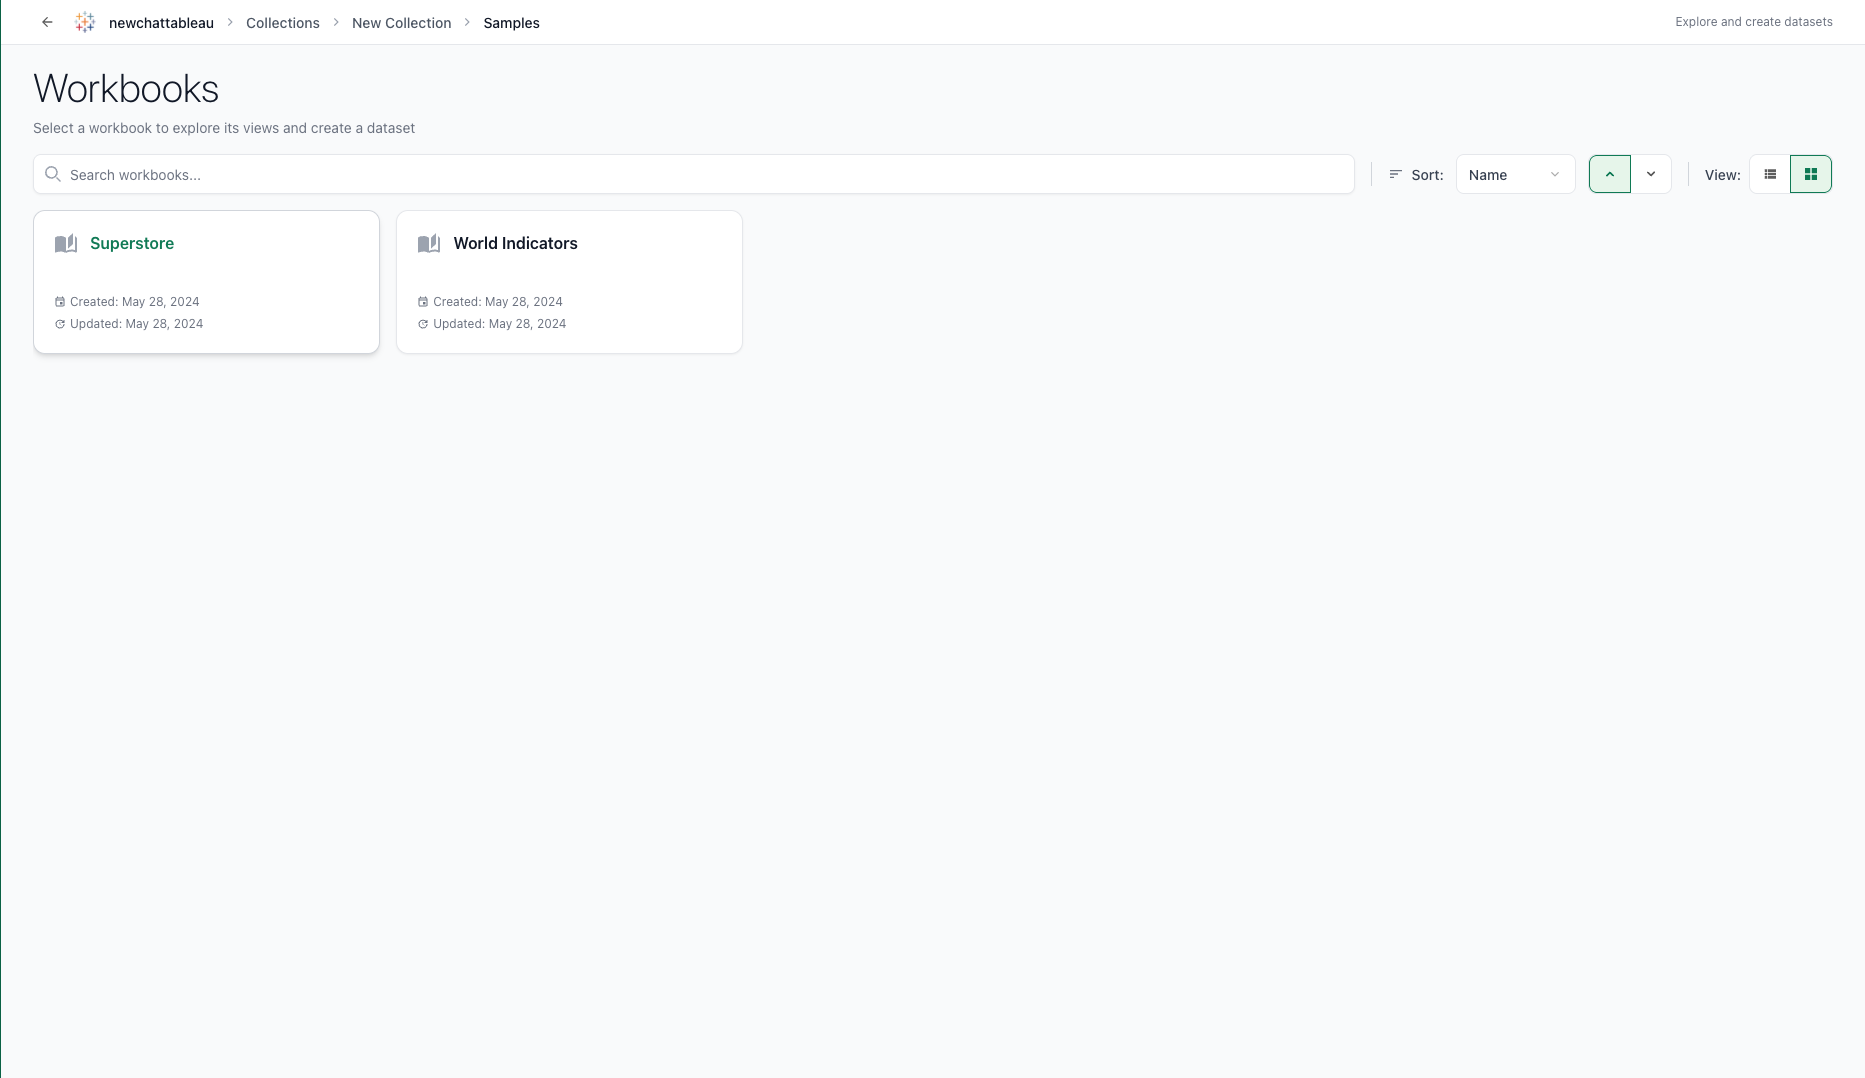
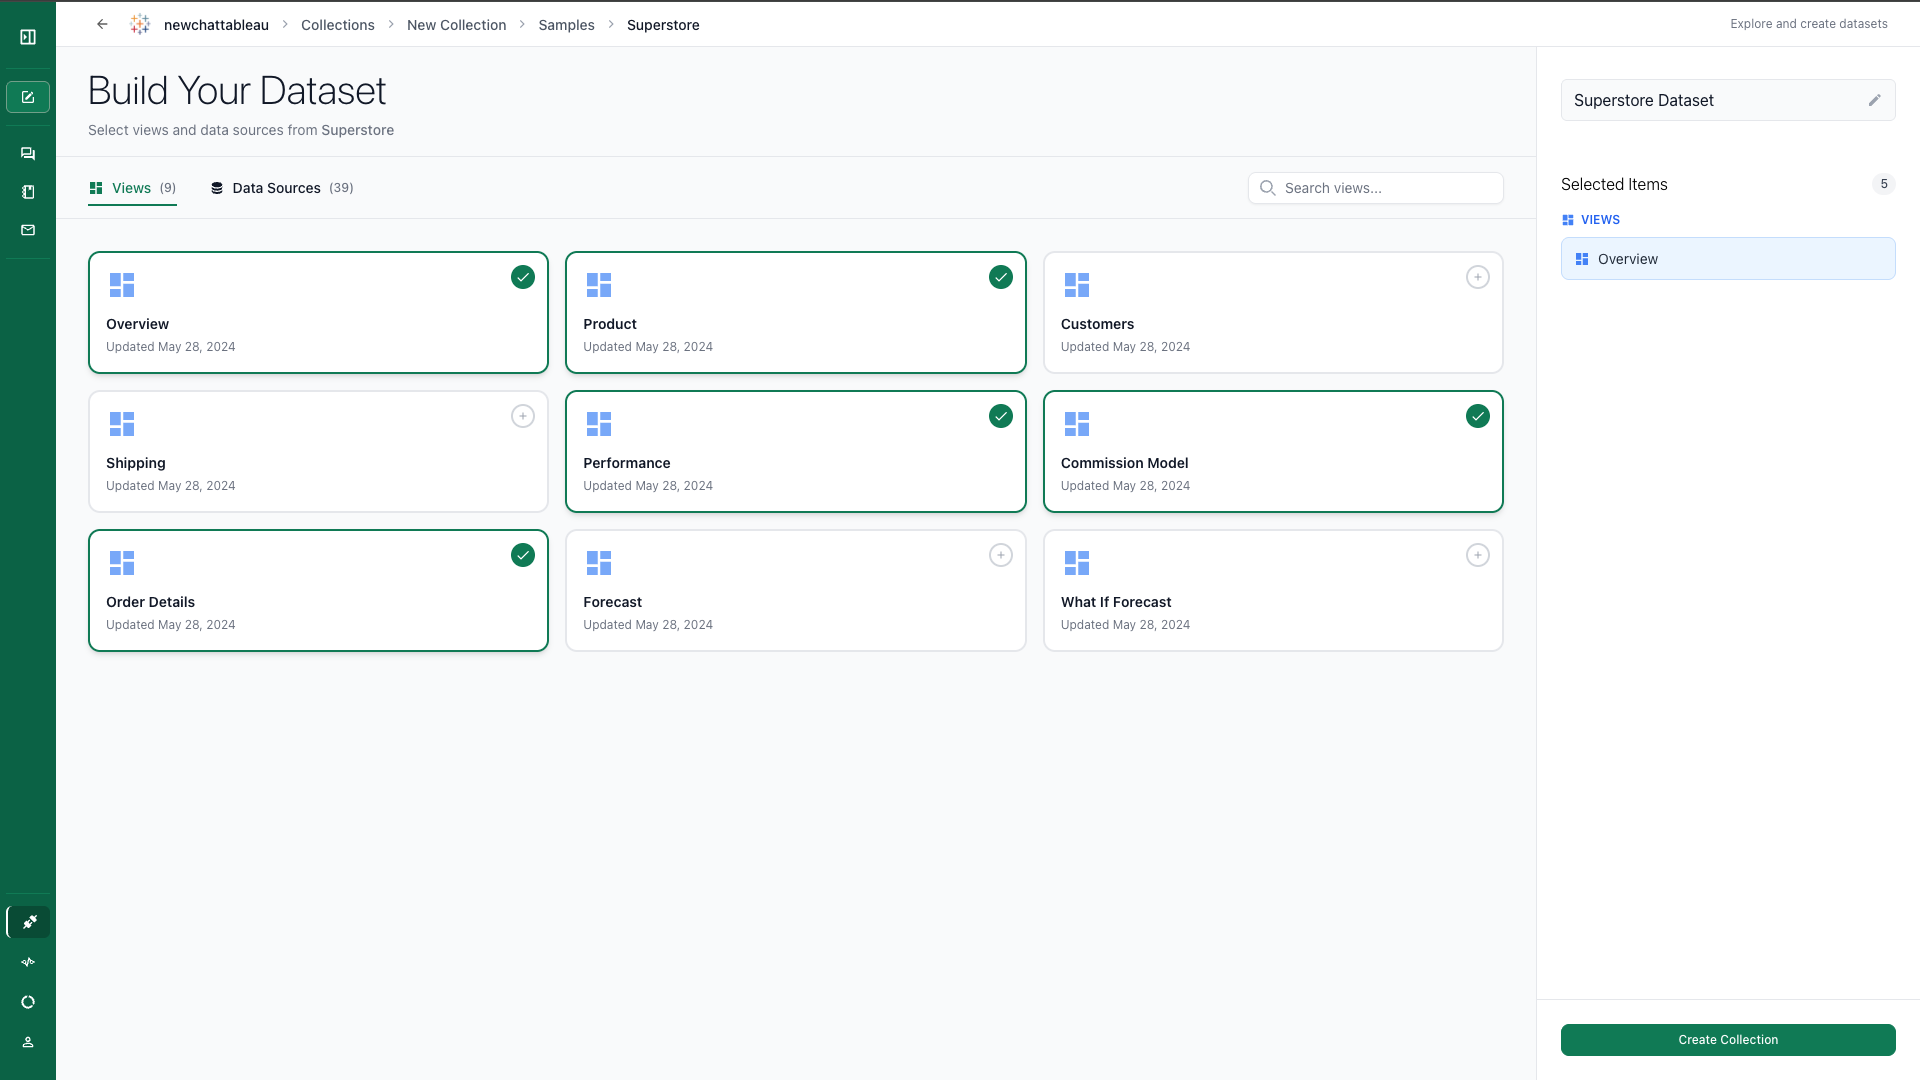
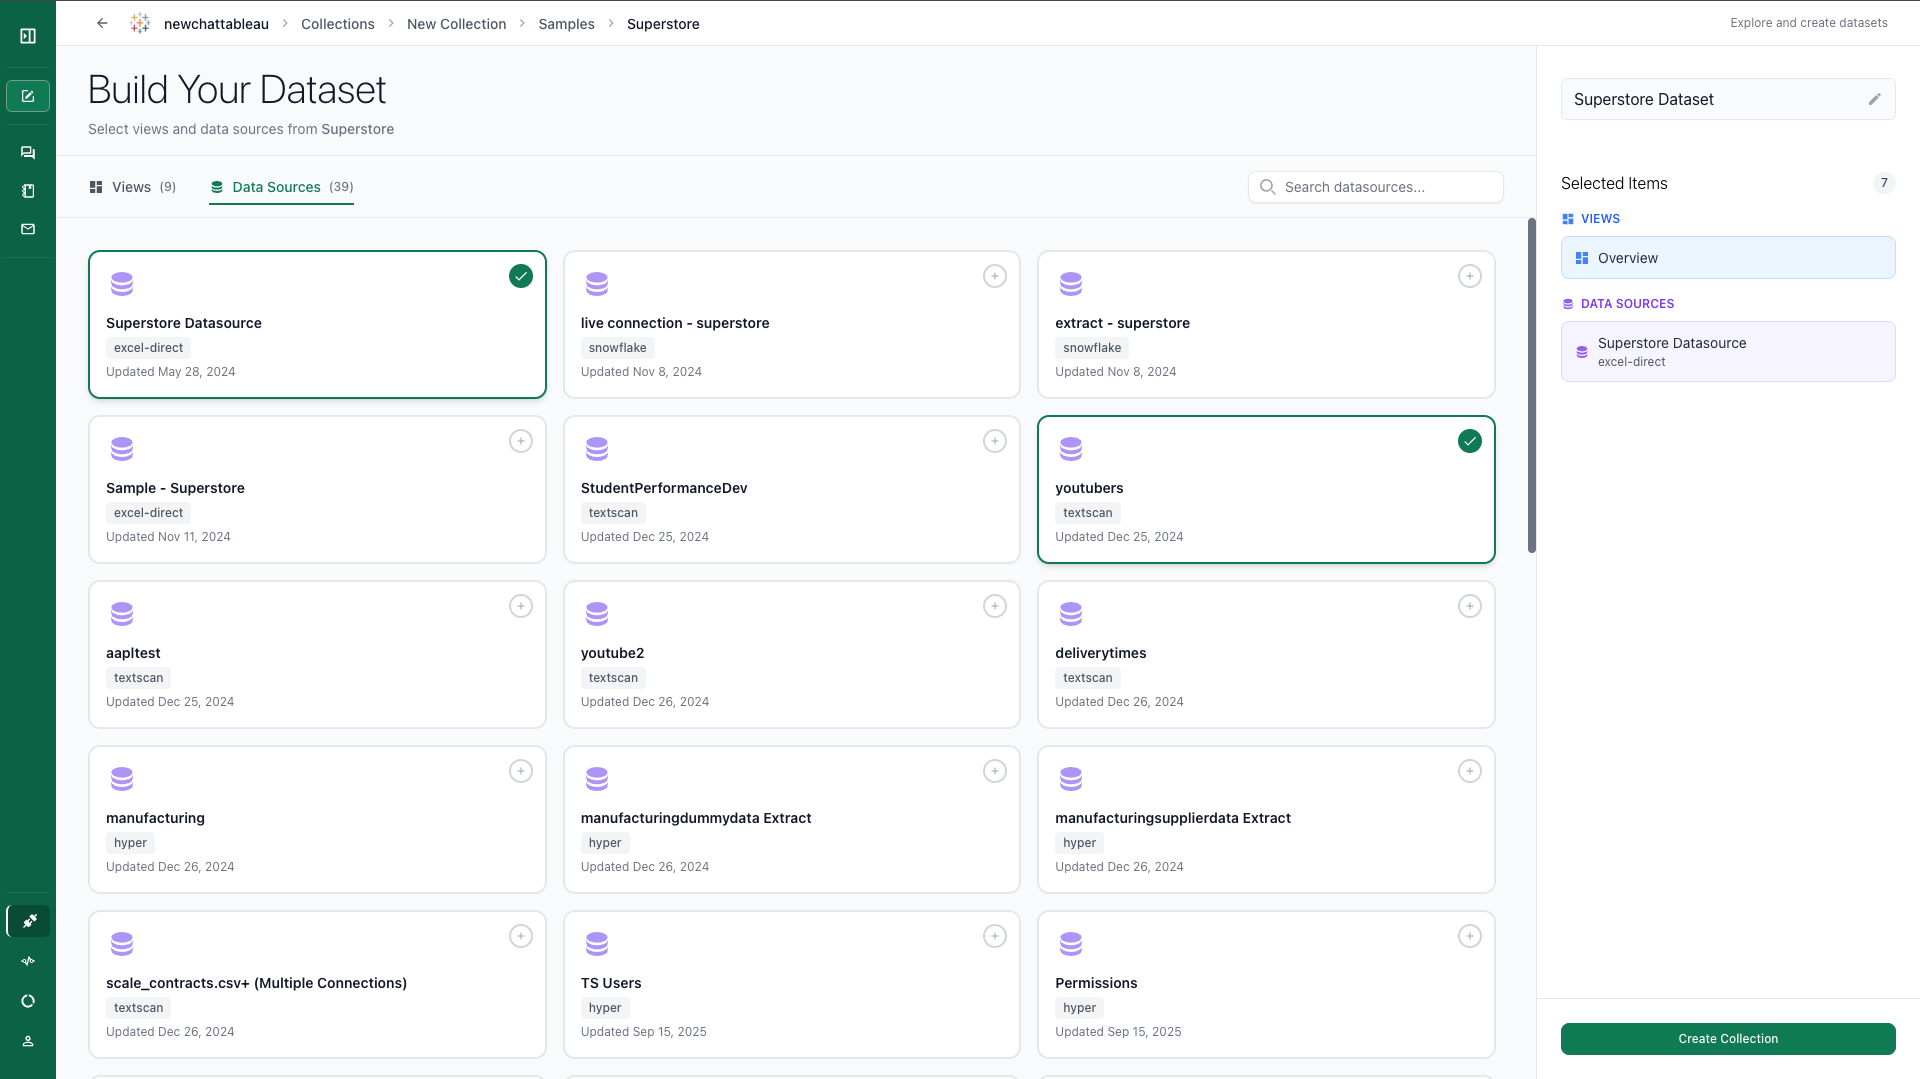
Syncing The Connector — Add Your Dashboards
After setting up your Tableau connector, you’ll need to select the dashboards to be made available to Ana. To do this, click into your connector, and then select the projects you want to include.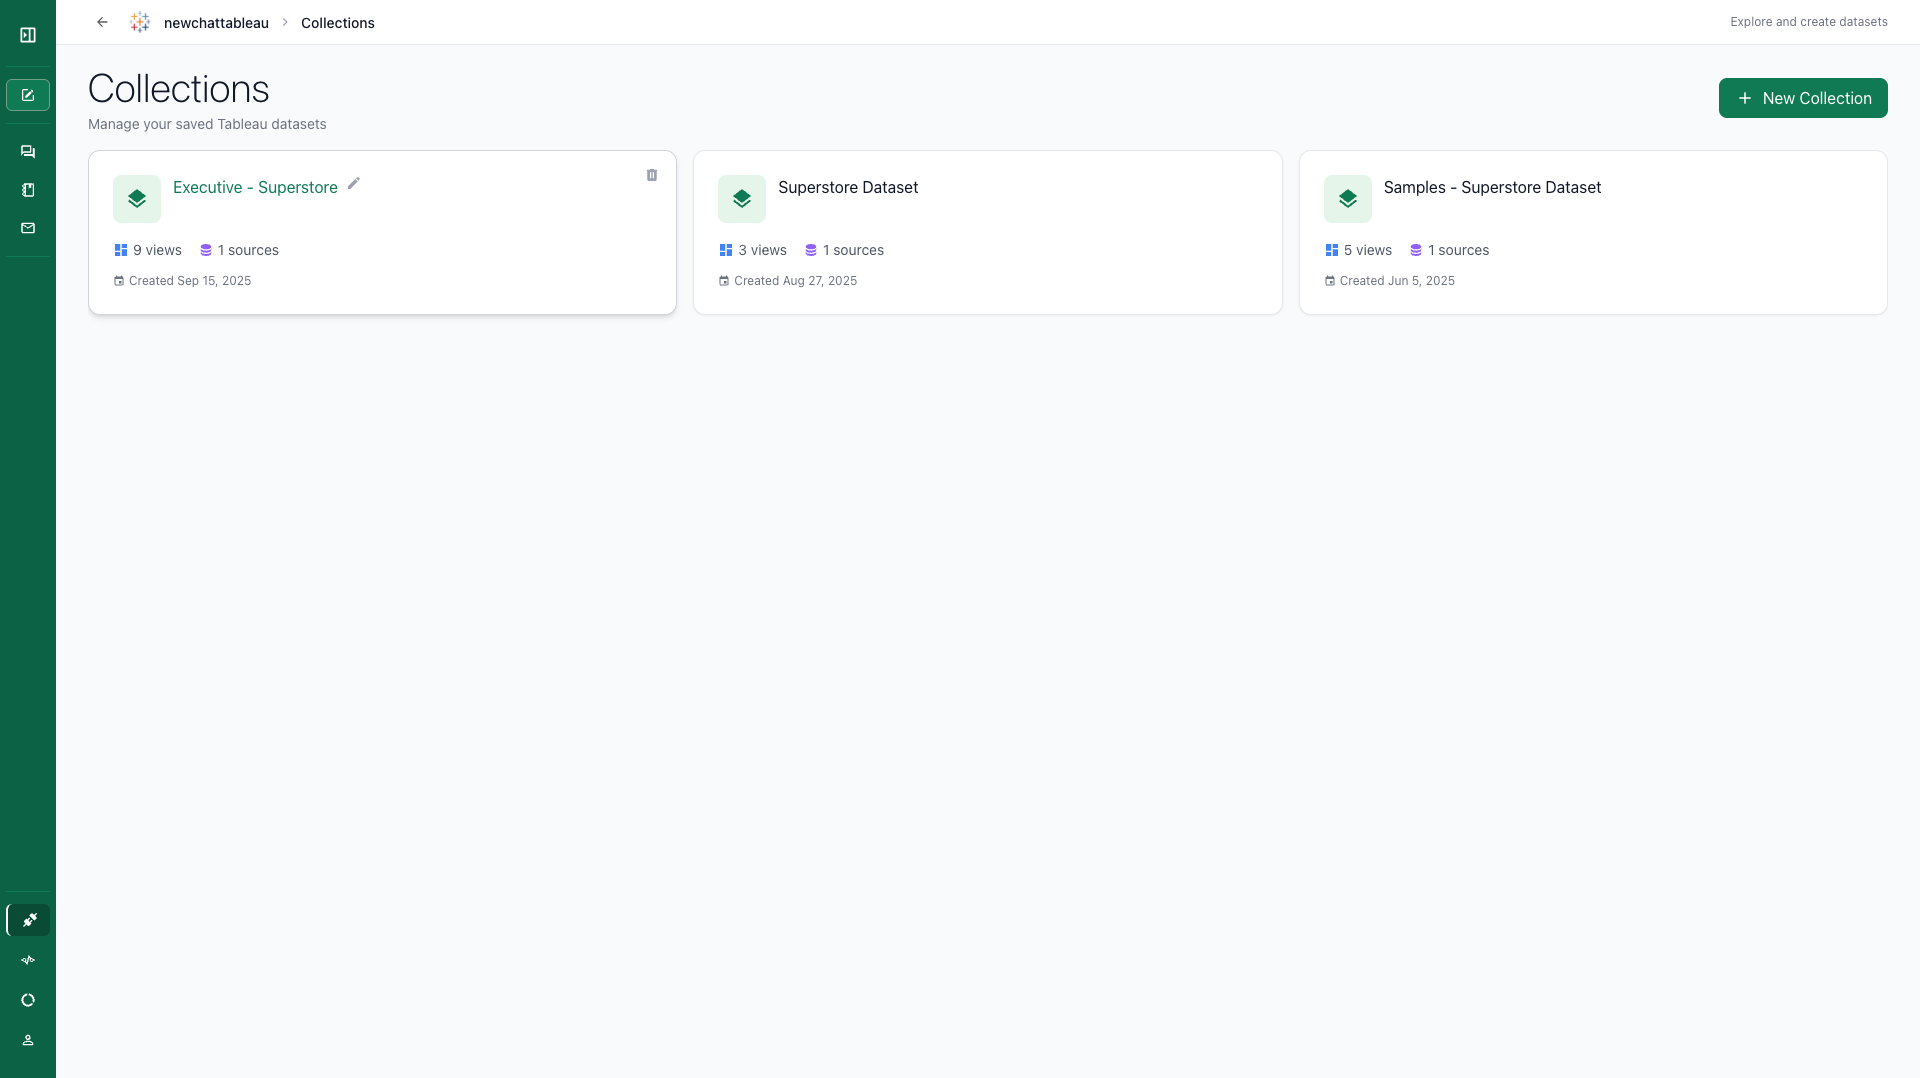
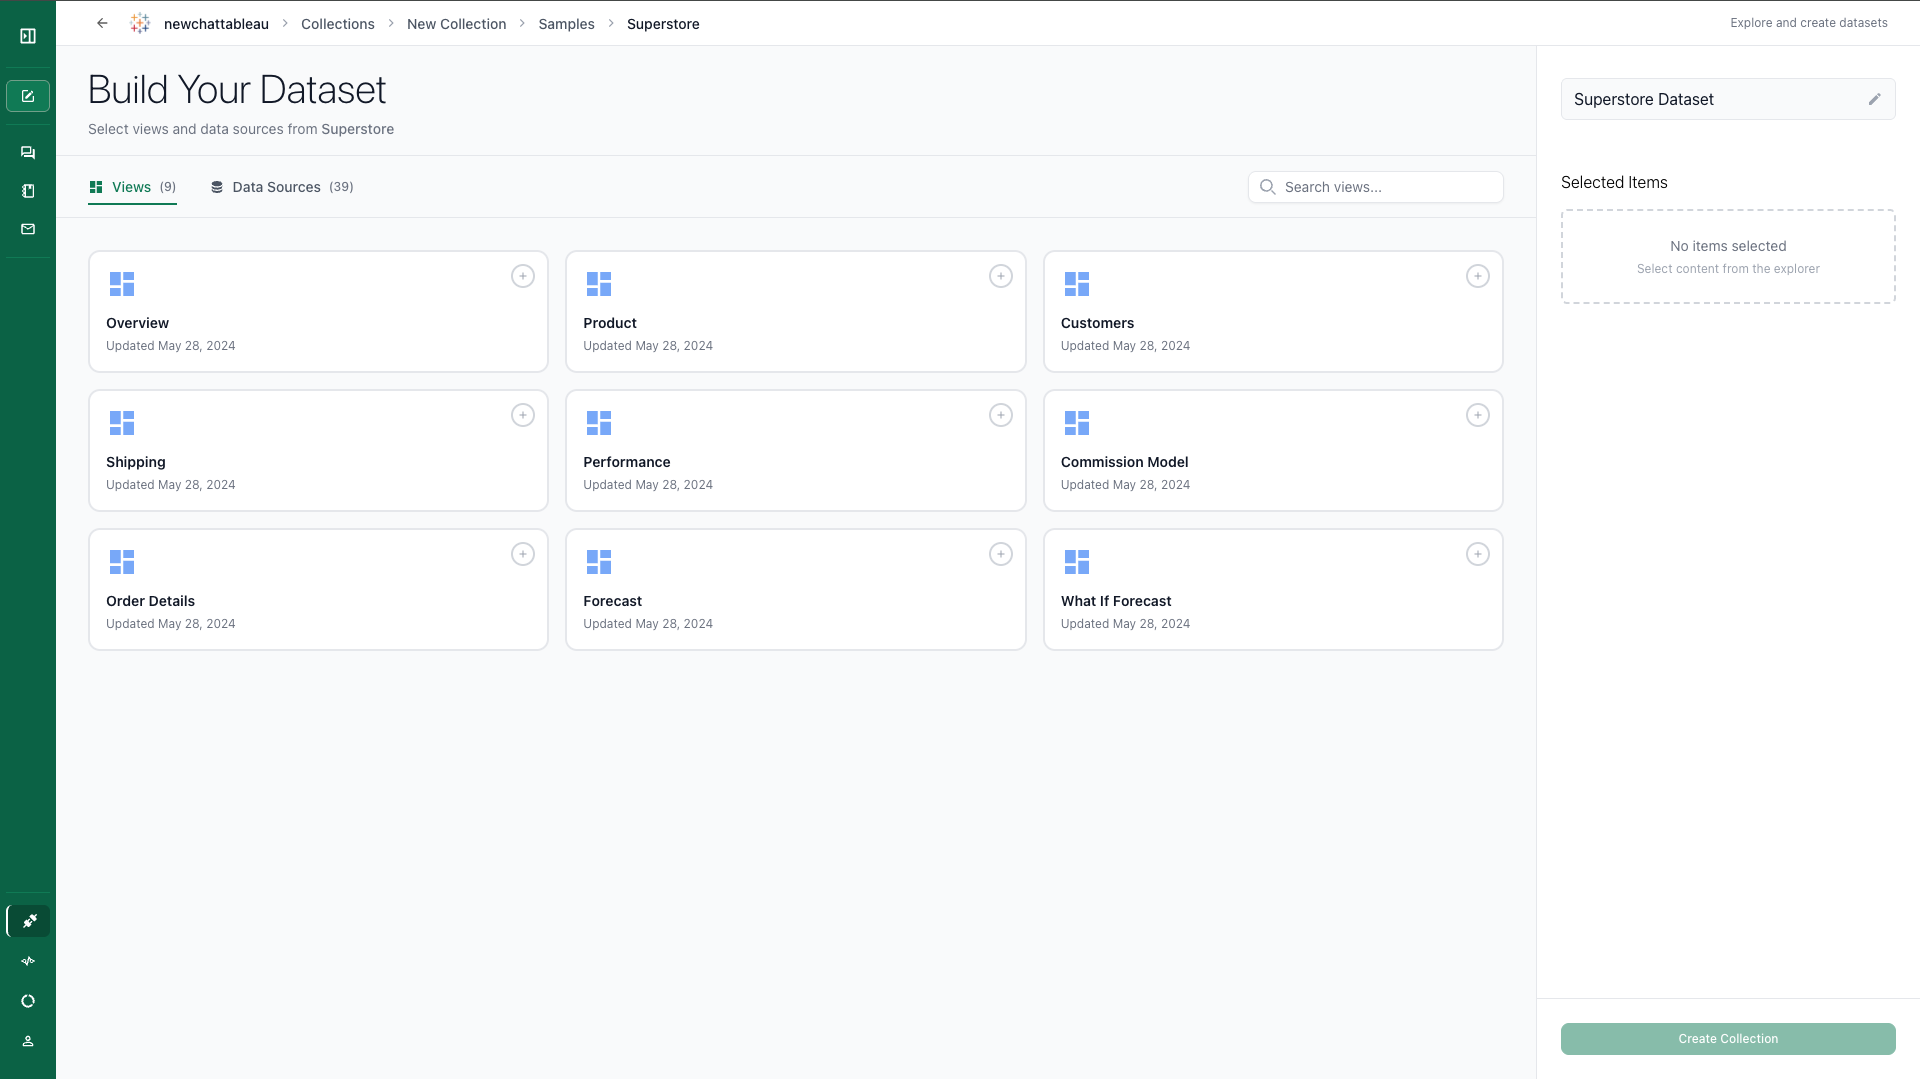
NOTE: Tableau datasources connected to TextQL must be Extract. Querying from Live datasources is still in development.
Refreshing a Collection
If your Tableau workbooks or datasources have changed since you created a collection, you can manually refresh it to pull in the latest views and datasources. On the collections list, hover over a collection card and click the Refresh icon (circular arrow) in the top-right corner of the card. TextQL will re-authenticate with Tableau, fetch the current list of views and datasources, update the collection, and invalidate any cached introspection data.The refresh re-syncs the views and datasources available in the collection. It does not change which project or workbook the collection points to. To change the scope of a collection, delete it and create a new one.
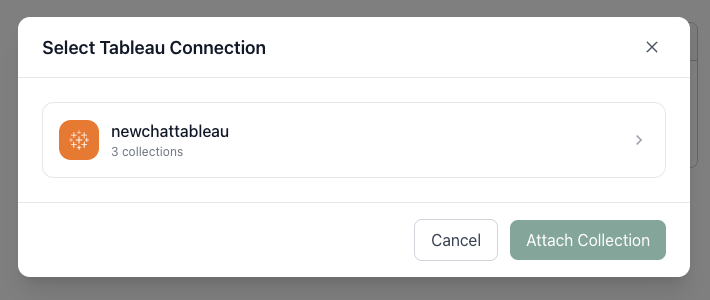
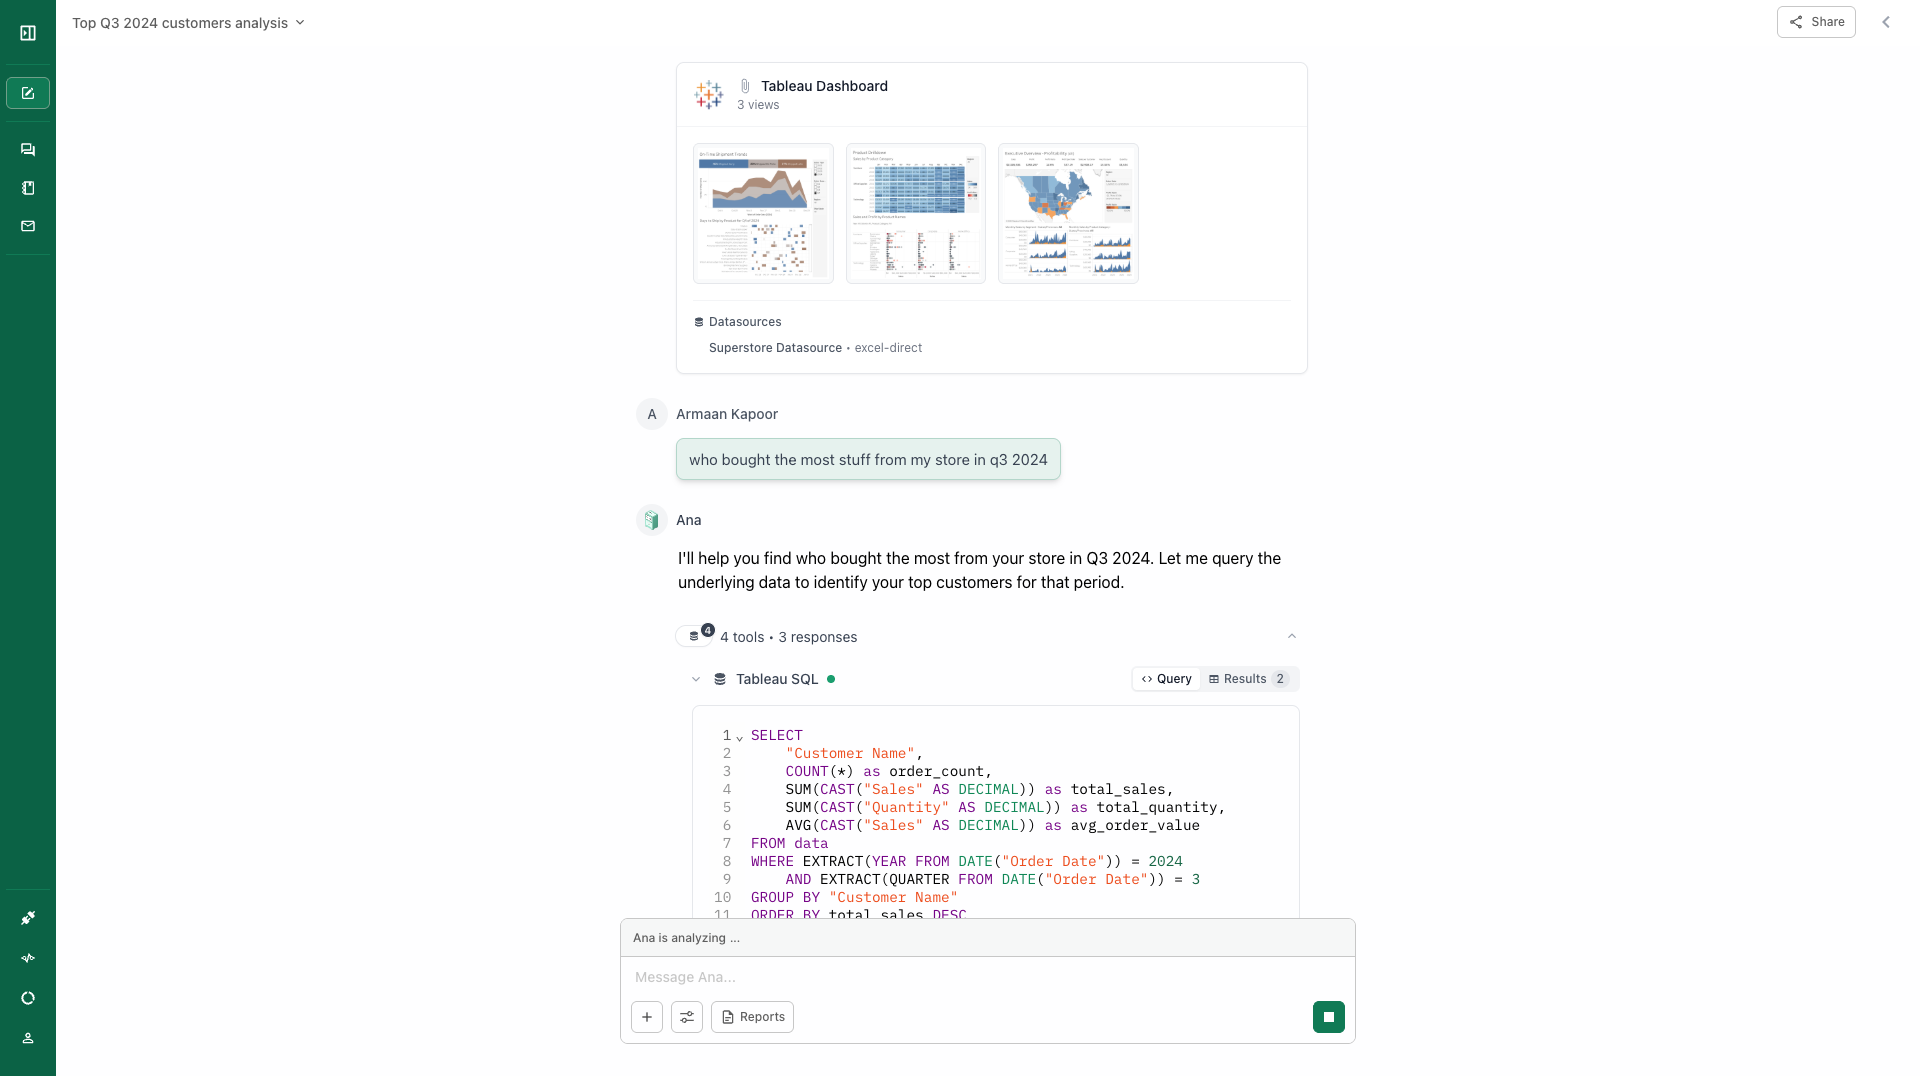
Chatting with your dashboards
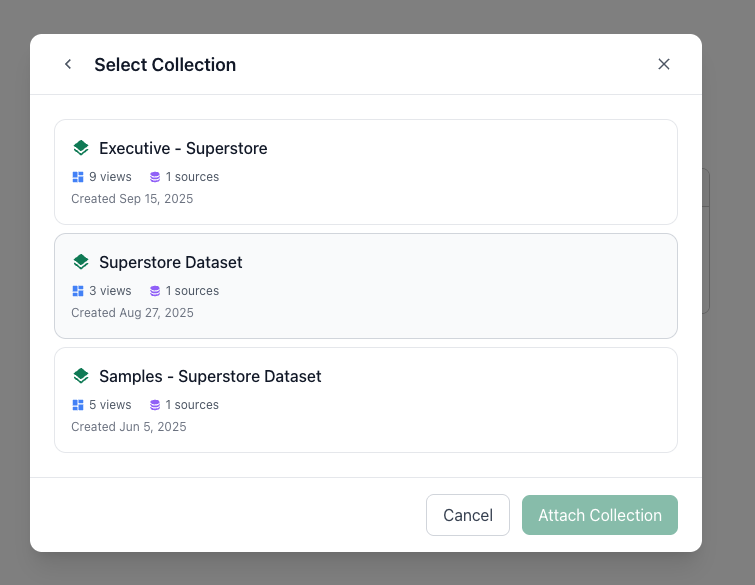
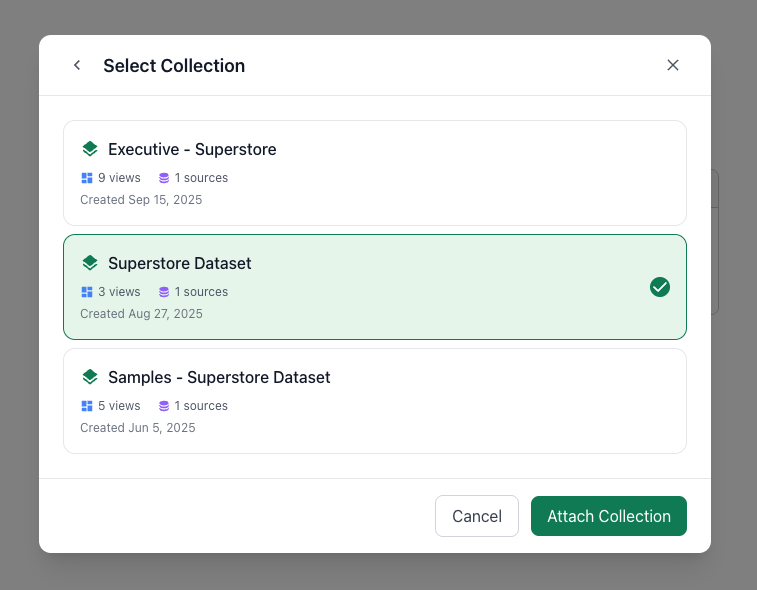
Once your Tableau connector is set up and synced, you can start chatting with your dashboards. Navigate to TextQL Chat to begin asking questions about your Tableau data. Hover over the ”+” icon and Click “Attach Tableau”.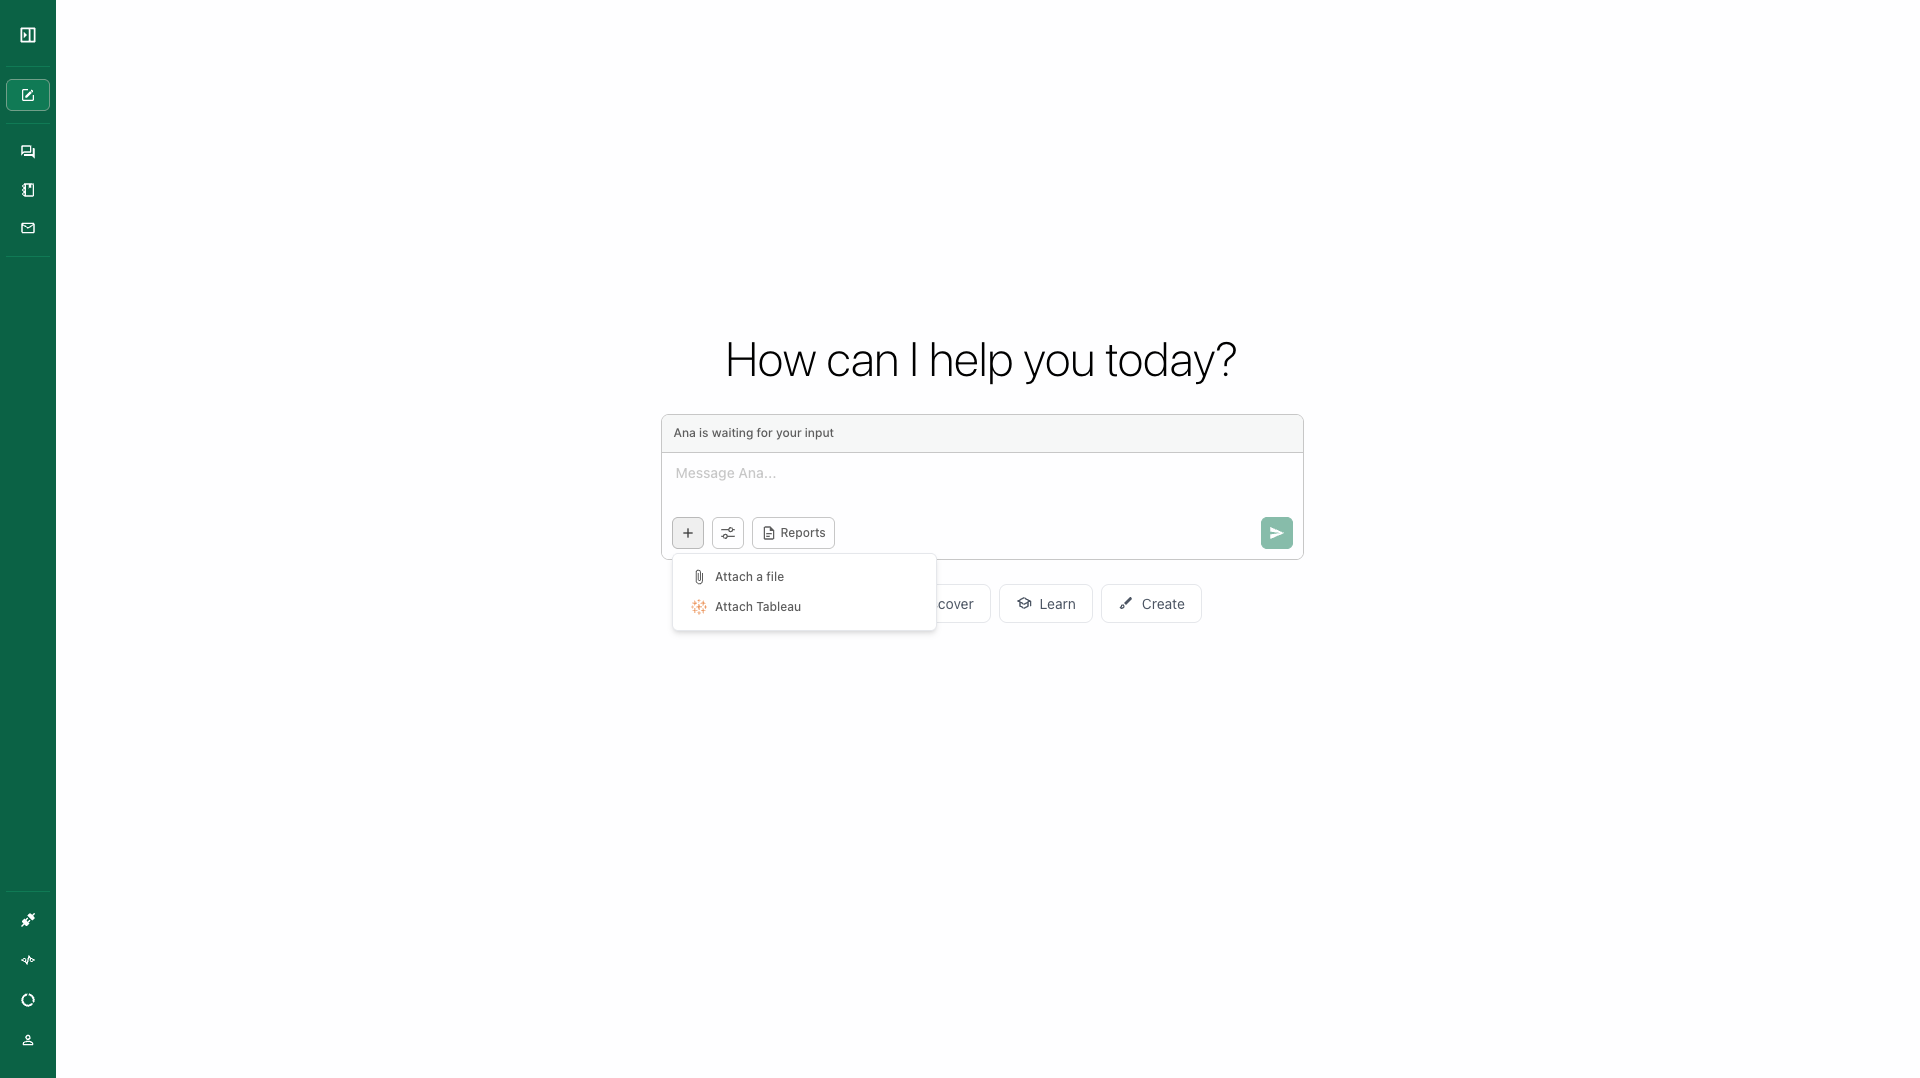
Sharing Collections via Embed Links
Admins can generate embed links for Tableau collections. Embed links authenticate as service accounts (bot users) created in Settings → Service Accounts. Service accounts:- Are regular org members with RBAC-controlled permissions
- Default to “member” role (can read datasets, create chats)
- Don’t expose admin credentials
- Can be deleted to revoke all associated embed links
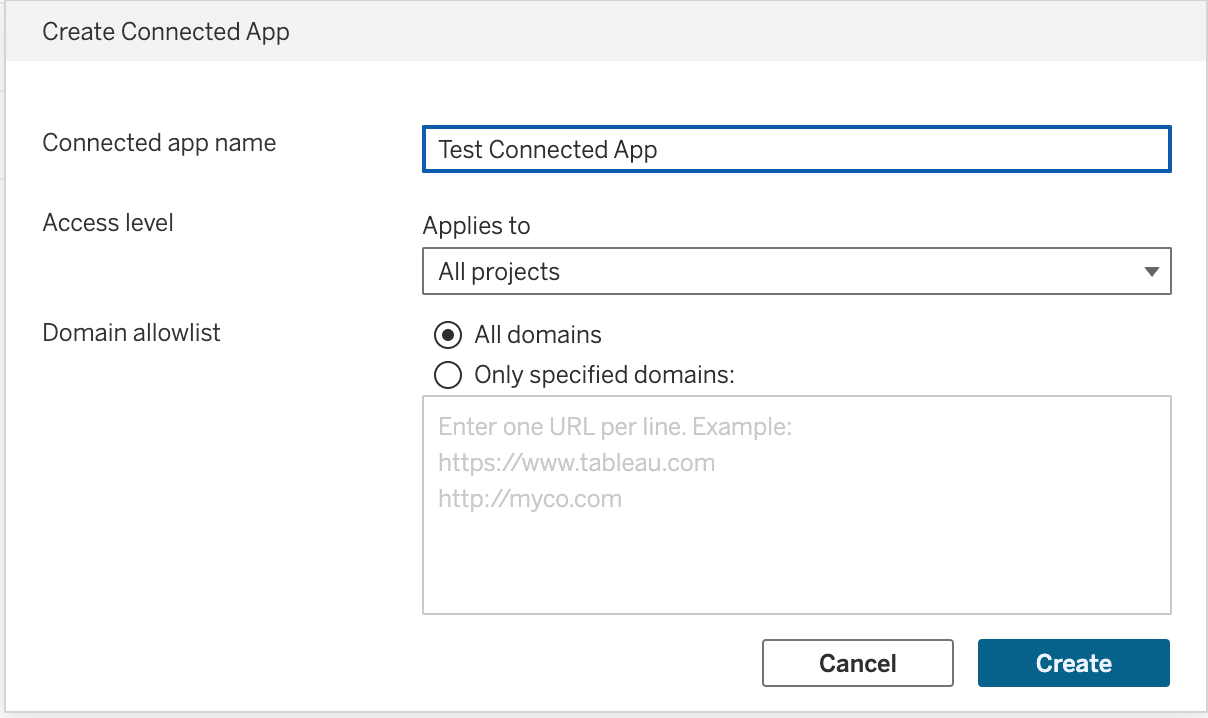
Tableau Connected App (deprecated)
Generally, you will need to be a server / site administrator within your Tableau account to complete the following steps. From within your Tableau account, navigate to Settings > Connected Apps. Then click the New Connected App dropdown and select Direct Trust.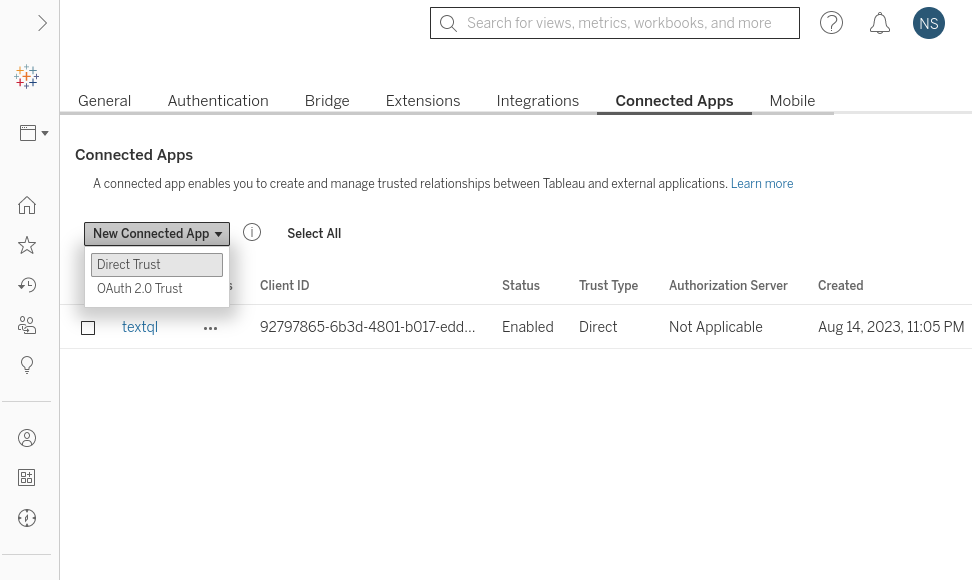
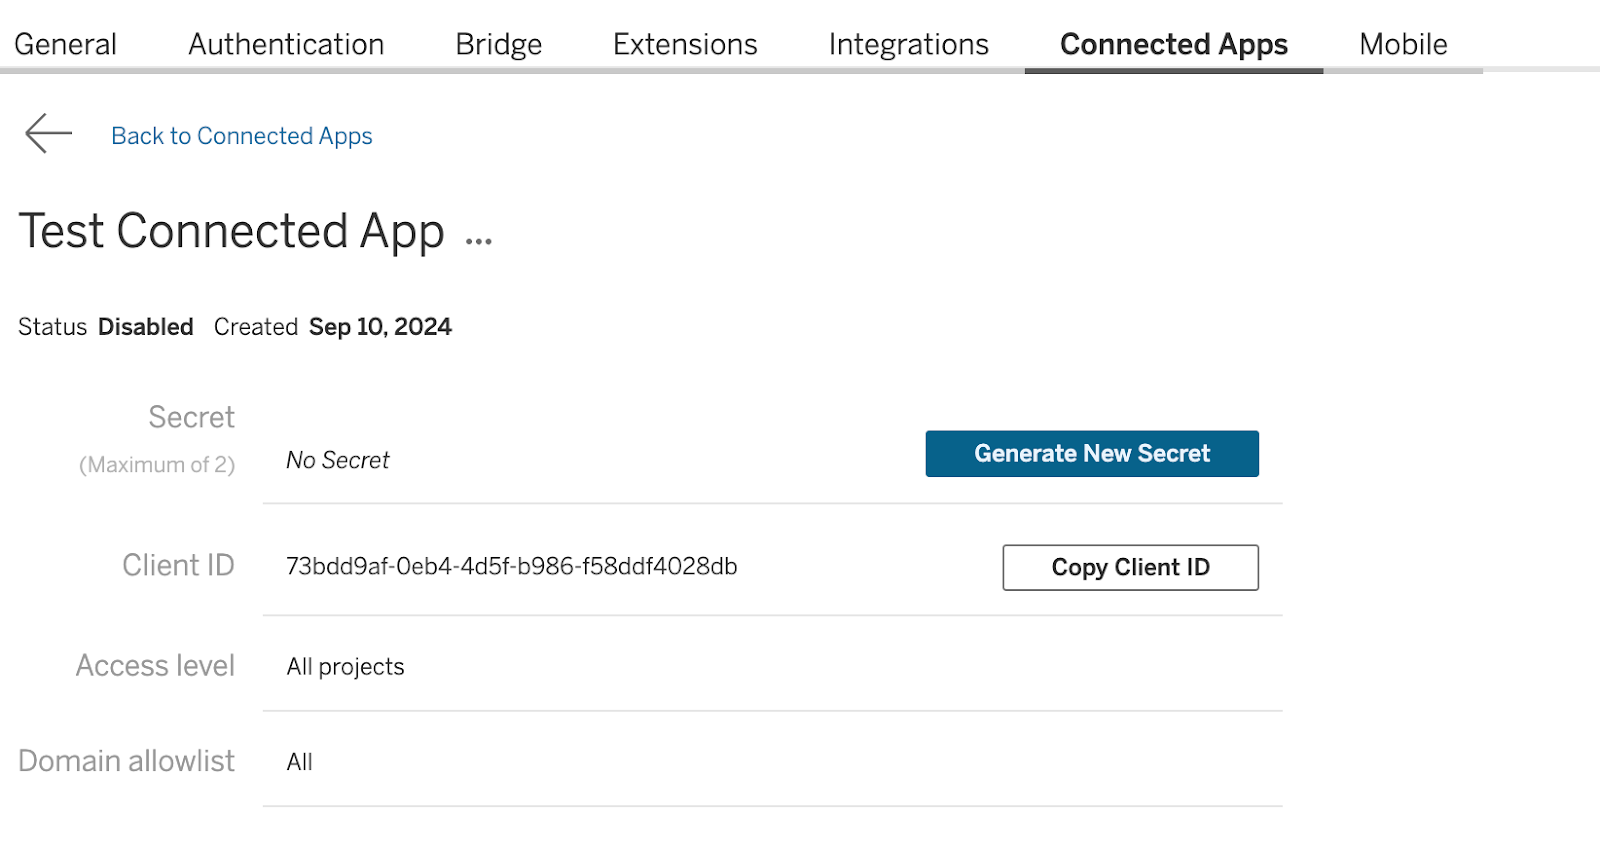
- App / Client ID
- Secret Value
- Secret ID