- Host and port (HTTP: 8123, Native TCP: 9000)
- Database name
- Authentication credentials (username and password)
- Protocol preference (HTTP recommended)
Creating the Connector in TextQL
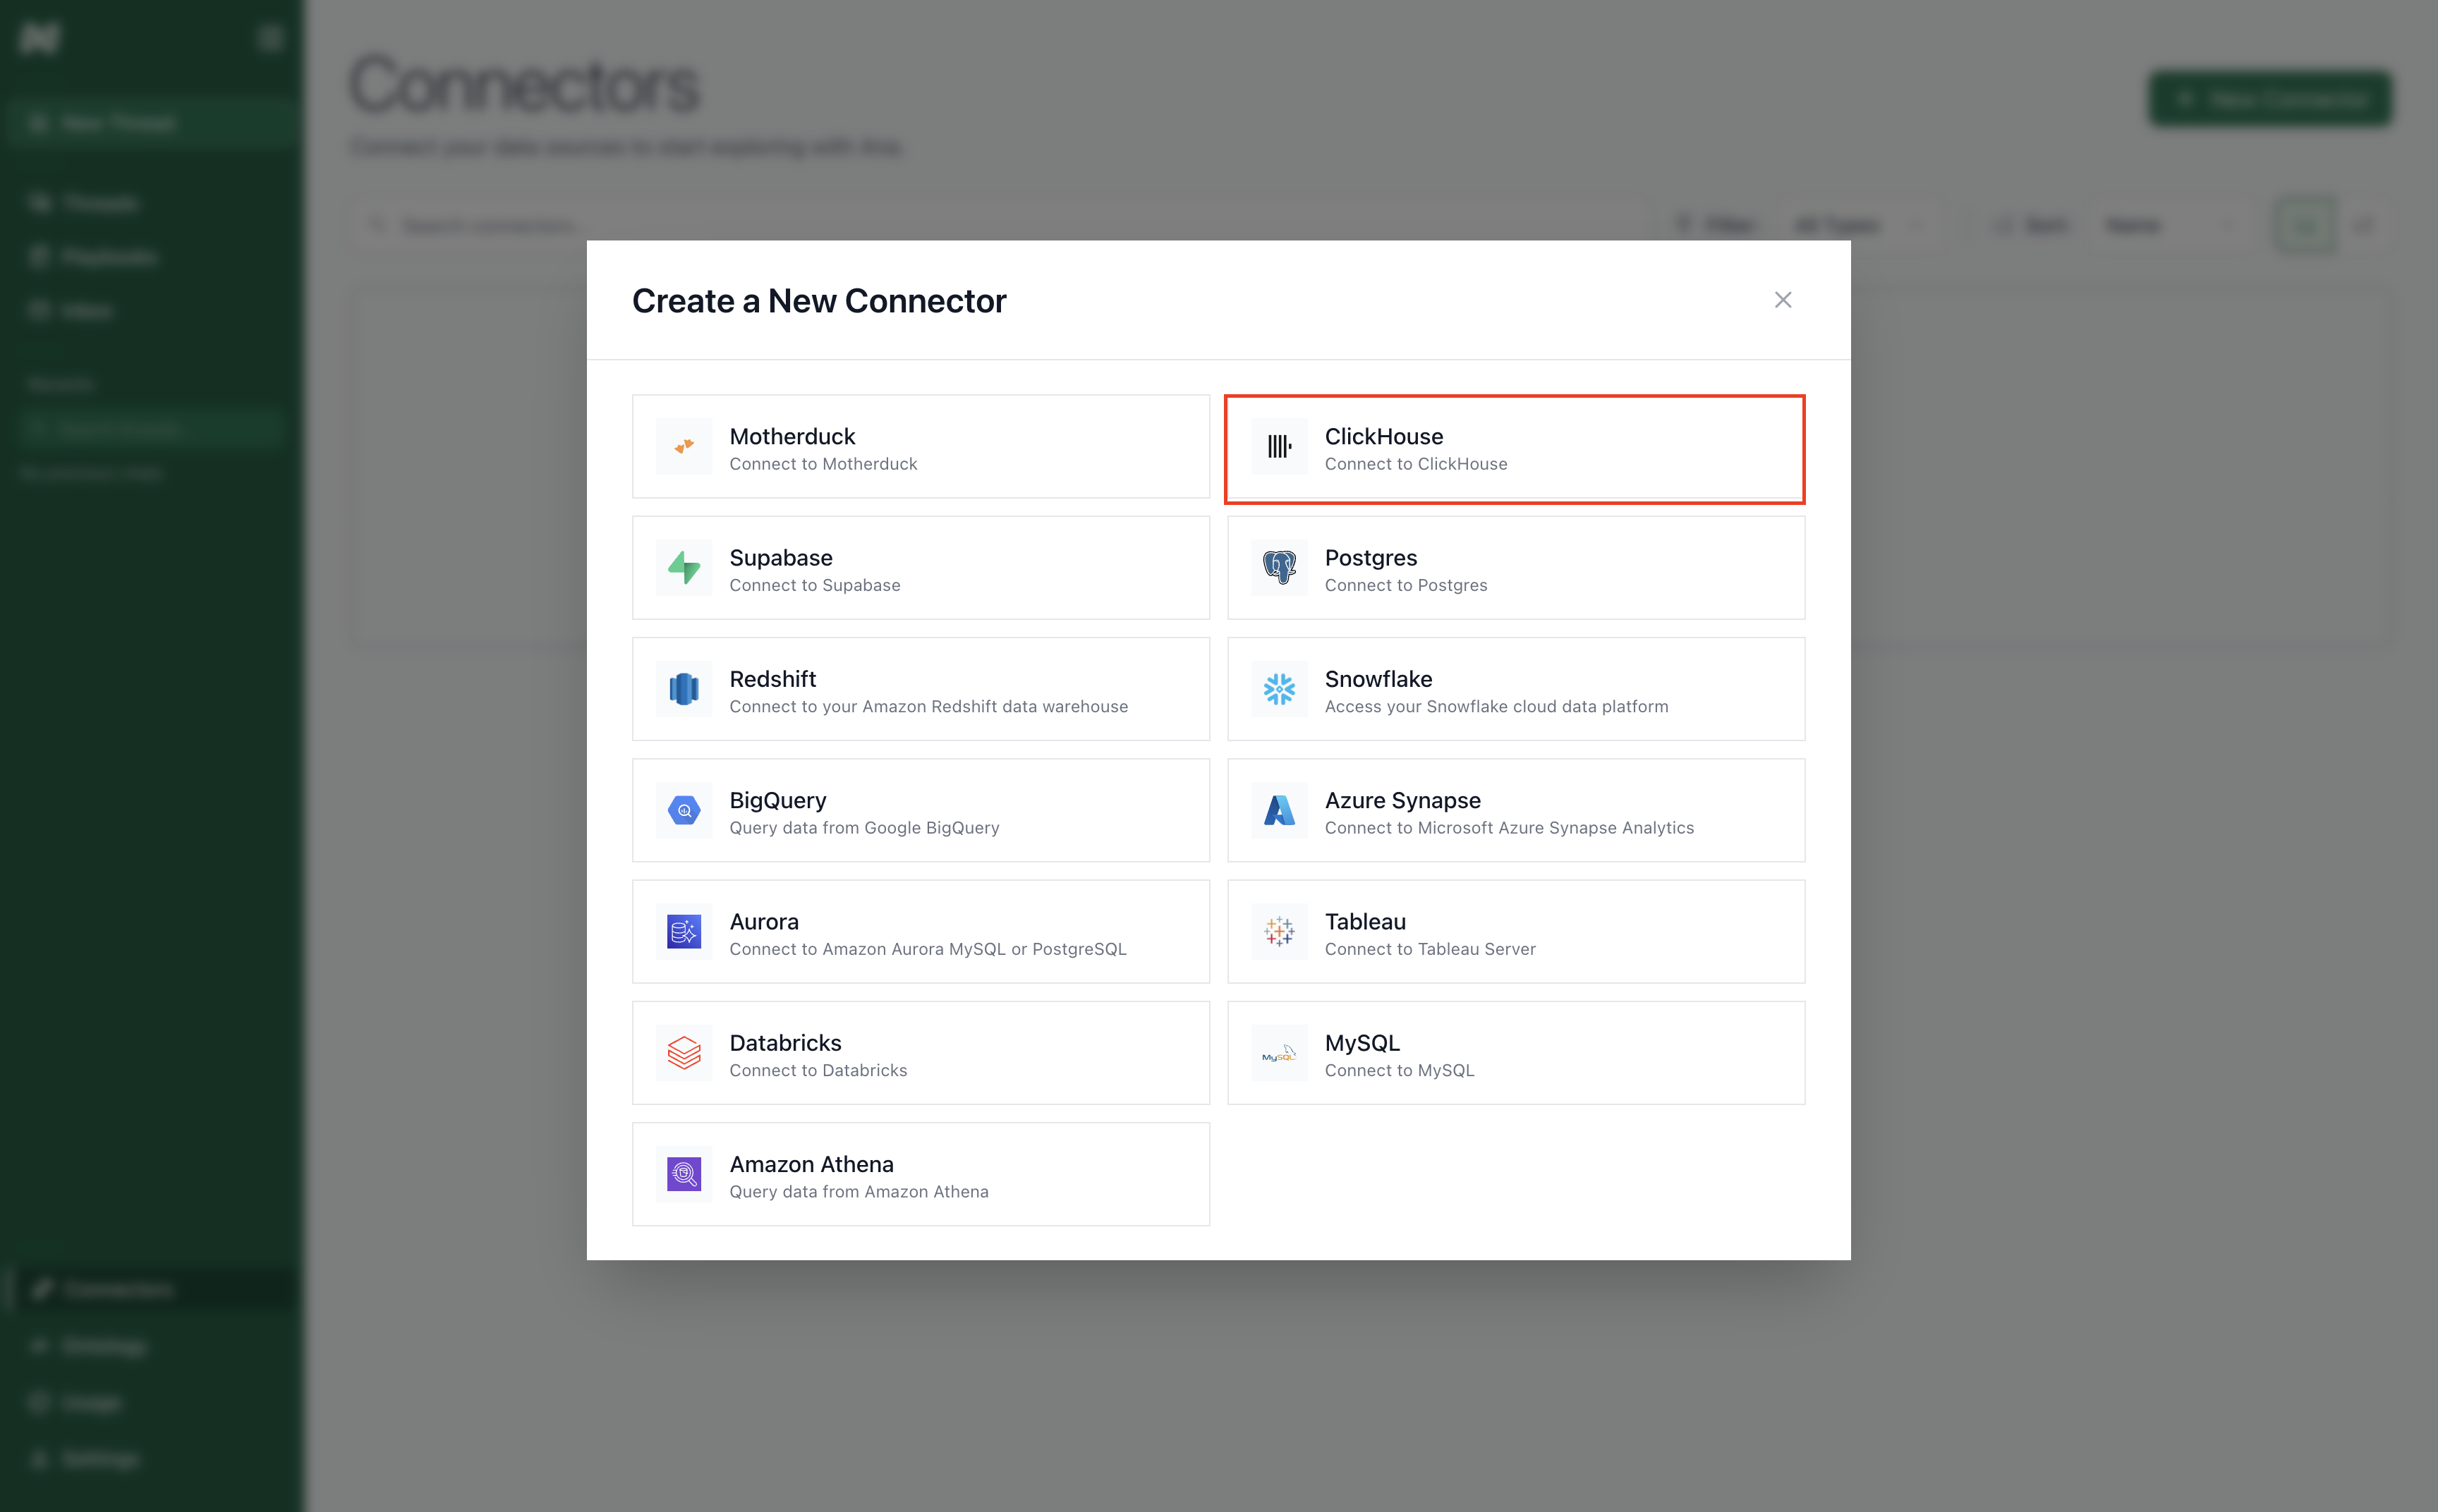
Navigate to the TextQL Connectors Page and click Create New Connector. Select ClickHouse from the available connectors to open the configuration form.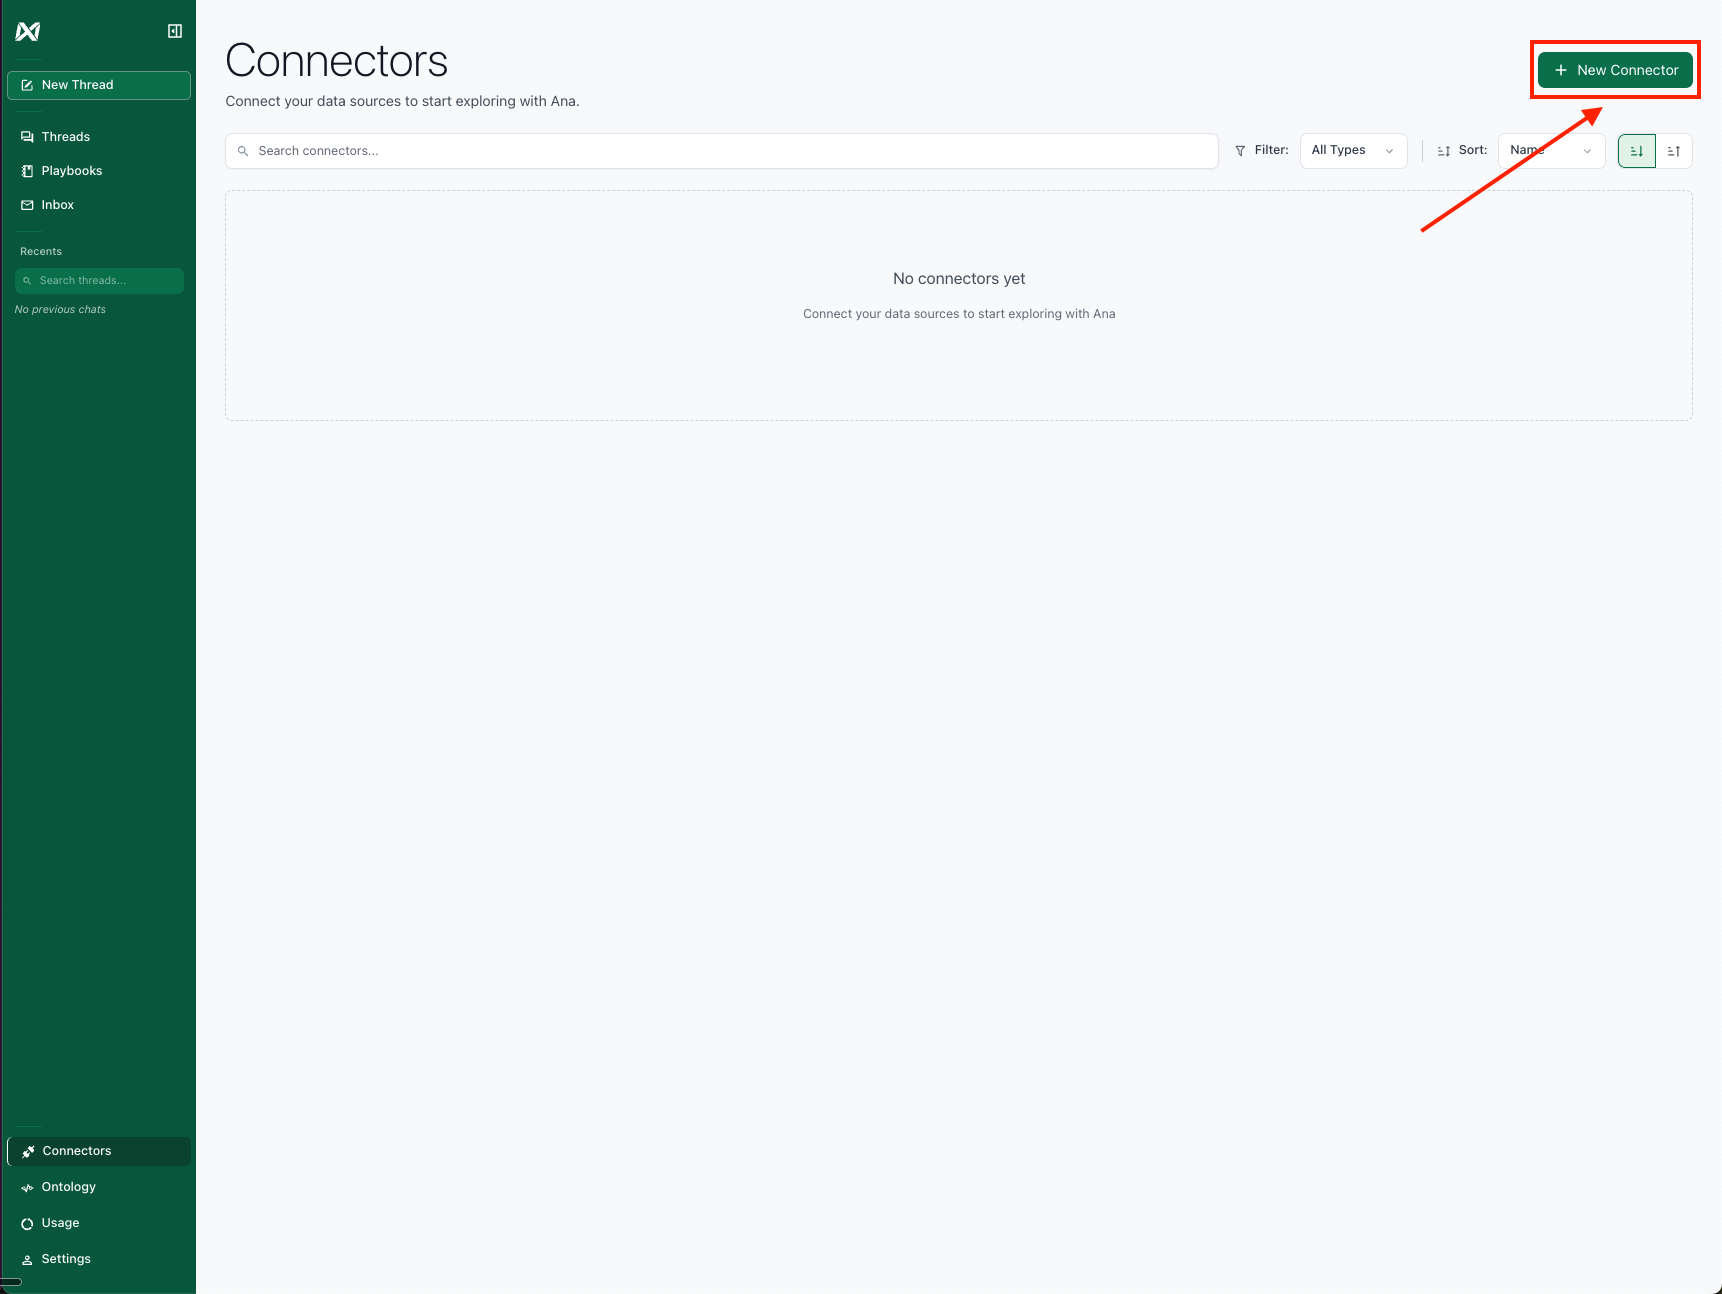
- Connector Name: A descriptive name to identify this specific ClickHouse connection in TextQL.
- Host: Your ClickHouse server hostname or IP address.
- Port: The ClickHouse port (8123 for HTTP, 9000 for Native TCP).
- Database: The name of your target ClickHouse database.
- Username: Your ClickHouse username.
- Password: Your ClickHouse password.
- Protocol: Choose HTTP or Native TCP protocol.

SSL Configuration
For secure connections, ClickHouse supports SSL/TLS encryption:- Use SSL/TLS: Toggle to enable SSL/TLS encryption for the connection
Supported Deployments
TextQL supports the following ClickHouse deployments:- ClickHouse Cloud
- Self-hosted single node
- Self-hosted clusters
- ClickHouse on Kubernetes
Testing the Connection
After entering your credentials, click Create to establish the connection. TextQL will validate your credentials and create the connector. If the connection fails, verify your host, port, protocol, and authentication details.Having trouble connecting? See the Network Configuration Guide for firewall and IP whitelisting setup.