Create an integration in Notion, share the relevant pages and databases with it, and store the token as an API Connector in TextQL.
Prerequisites
You’ll need:- A Notion account with access to the pages or databases you want Ana to query
- Admin access to your Notion workspace if you are setting up an Org-level integration
- A TextQL account with permission to add API connectors
Which connection type should I use?
| Personal access token | Org-level integration | Per-member integration | |
|---|---|---|---|
| Best for | Personal scripts and individual use | Team automations within a single workspace | Apps serving multiple workspaces or Notion users |
| Scope | One user in one workspace | One workspace | Any workspace |
| Authentication | Static bearer token | Static API token | OAuth 2.0 |
If you’re setting this up for your team, use an Org-level integration. A personal access token limits Ana to your individual permissions only, which may cause incomplete results for shared workflows. Per-member integrations are only necessary when connecting multiple Notion workspaces.
Ana’s Capabilities
Once configured, Ana can:- Fetch and search pages, databases, and documents across your Notion workspace
- Query structured database entries and filter by properties, tags, dates, or status
- Summarize content from pages, meeting notes, and project docs
- Surface linked pages and related content across your workspace
- Generate reports from database views, such as project trackers, CRMs, or task lists
- Answer questions grounded in your Notion content, like “What’s the status of X project?” or “Who owns Y task?”
Step 1: Generate Your Notion Credentials
Before configuring TextQL, you’ll need credentials from Notion. Which type you generate depends on your use case — see Which connection type should I use? above for guidance.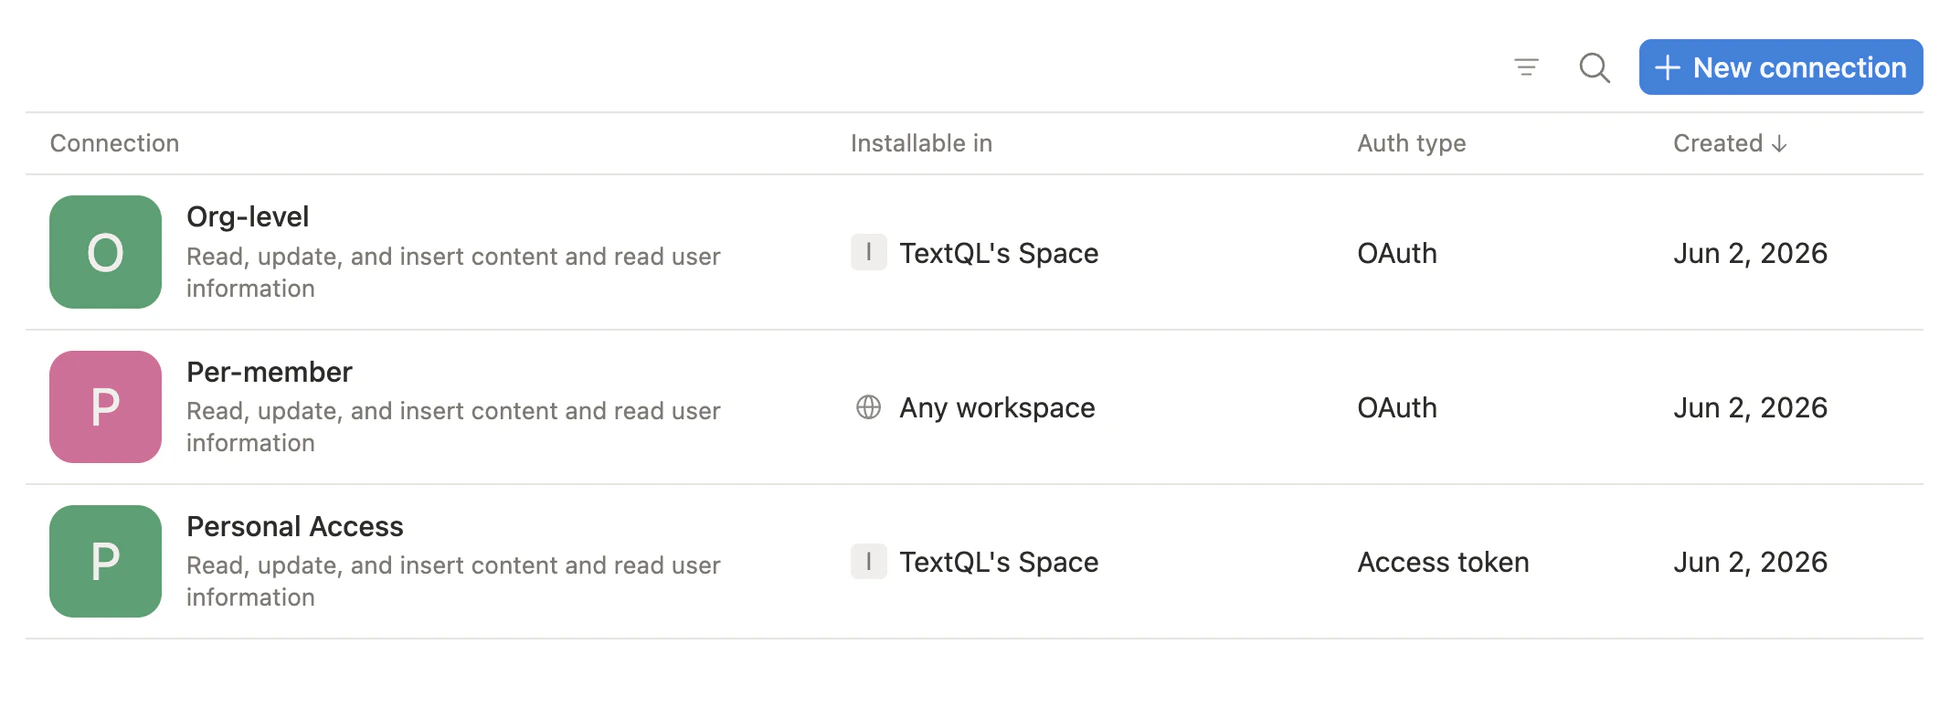
Personal access token
- Go to notion.com/developers and sign in.
- In the left sidebar, click Personal access tokens.
- Click New token.
- Enter a name and choose the workspace you want to connect.
- Click Create token, then copy the value immediately.
Org-level & Per-member integration
- Go to notion.com/developers and sign in.
- Navigate to Connections on the left sidebar and click New connection.
- Enter a name and choose OAuth for the authentication method.
- Choose the development workspace and where the workspace will be installed.
- Under Installable in, configure based on your connection type:
- Org-level: uncheck Any workspace and select only your specific workspace
- Per-member: ensure Any workspace is selected
- For Redirect URL, enter
https://app.textql.com/auth/api-oauth/callback. - Click Save.
- Open the Configuration tab and copy your OAuth client ID and OAuth client secret.
Step 2: Add Notion as an API Connector in TextQL
- Go to app.textql.com and sign in.
- In the bottom-left sidebar, click Connectors.
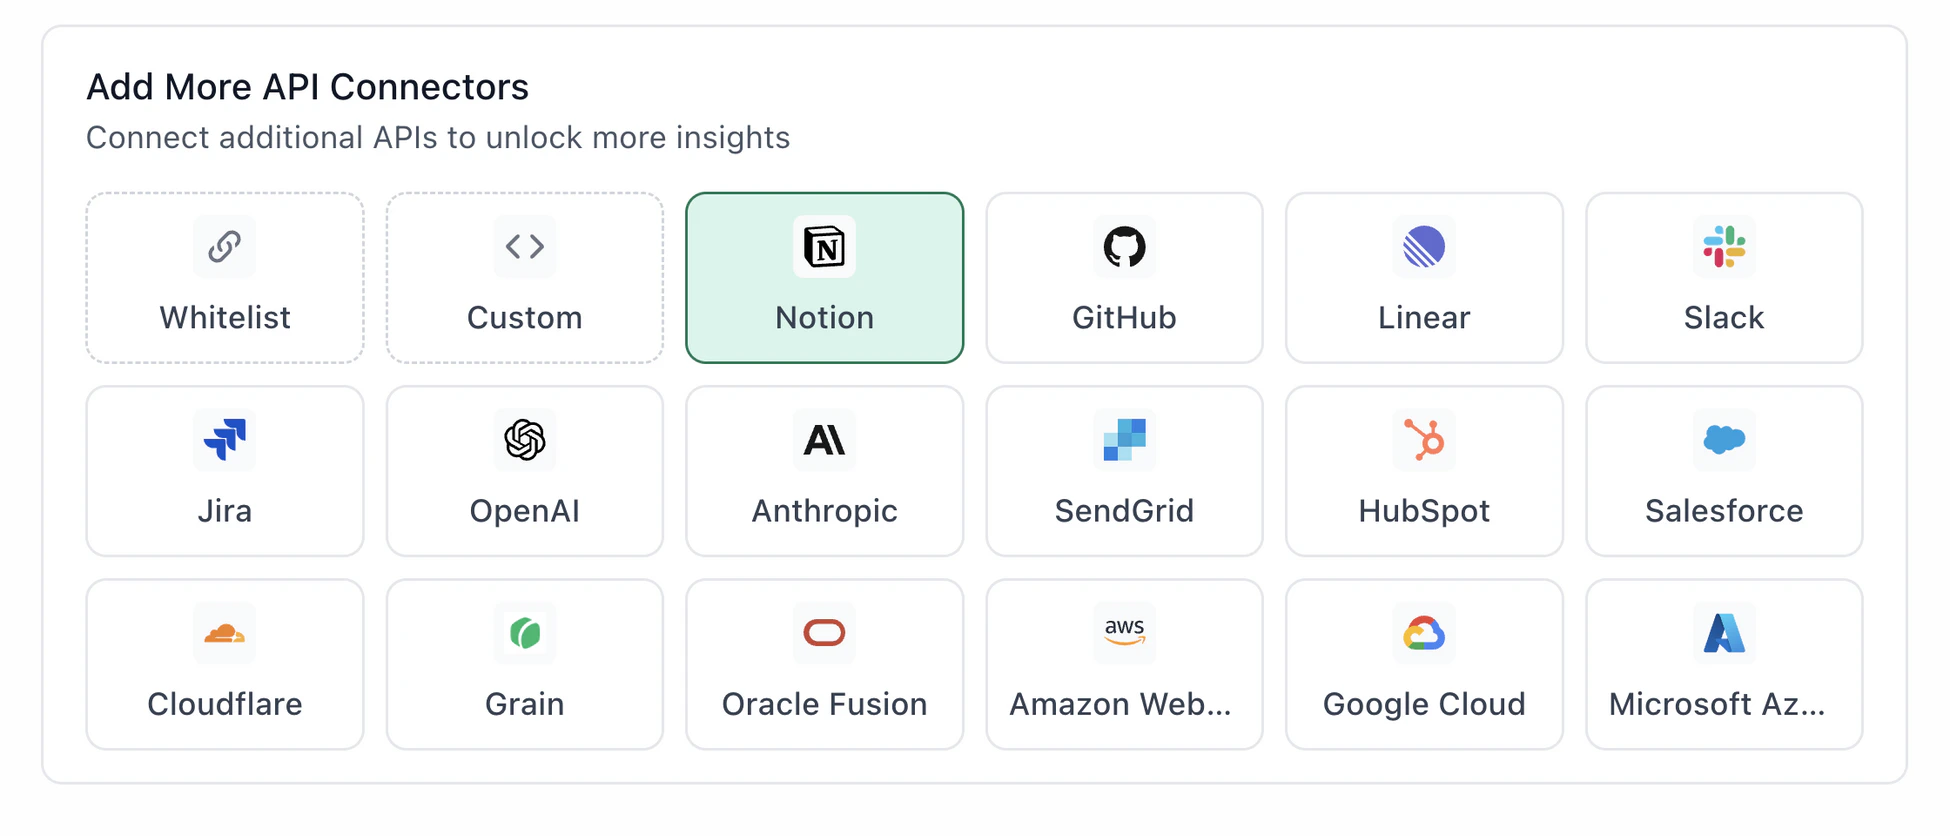
- Select the APIs tab, then click Notion.
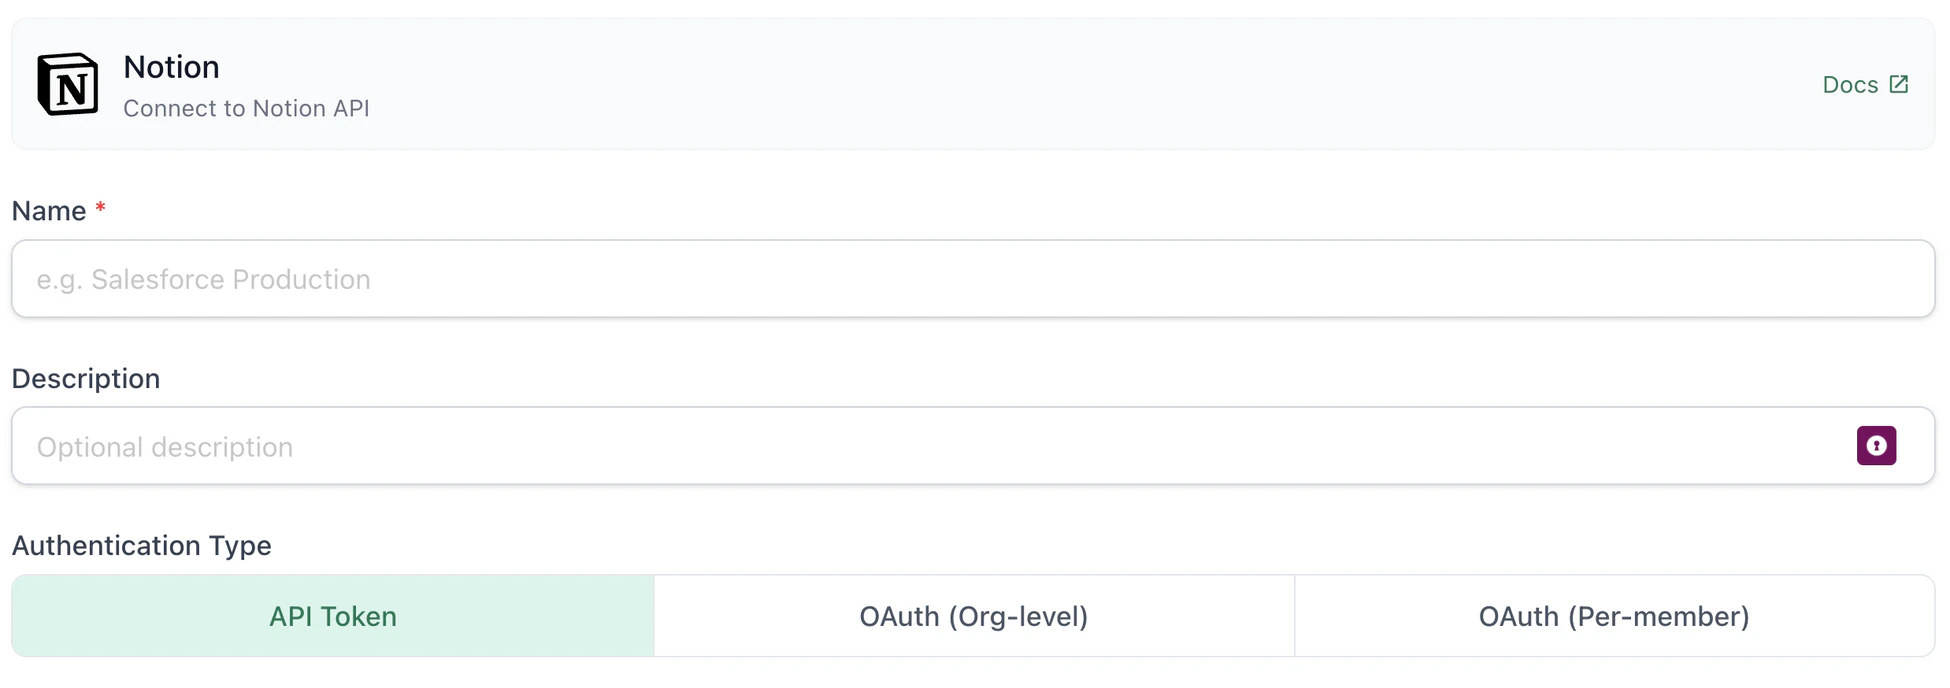
- In the configuration panel, choose your Authentication Type and fill in the matching fields.
Personal access token (PAT)
- Name — a label for this connection (e.g.
Notion PAT) - Authentication type — select API Token
- Integration token — paste the access token from Step 1
Org-level integration
- Name — a label for this connection (e.g.
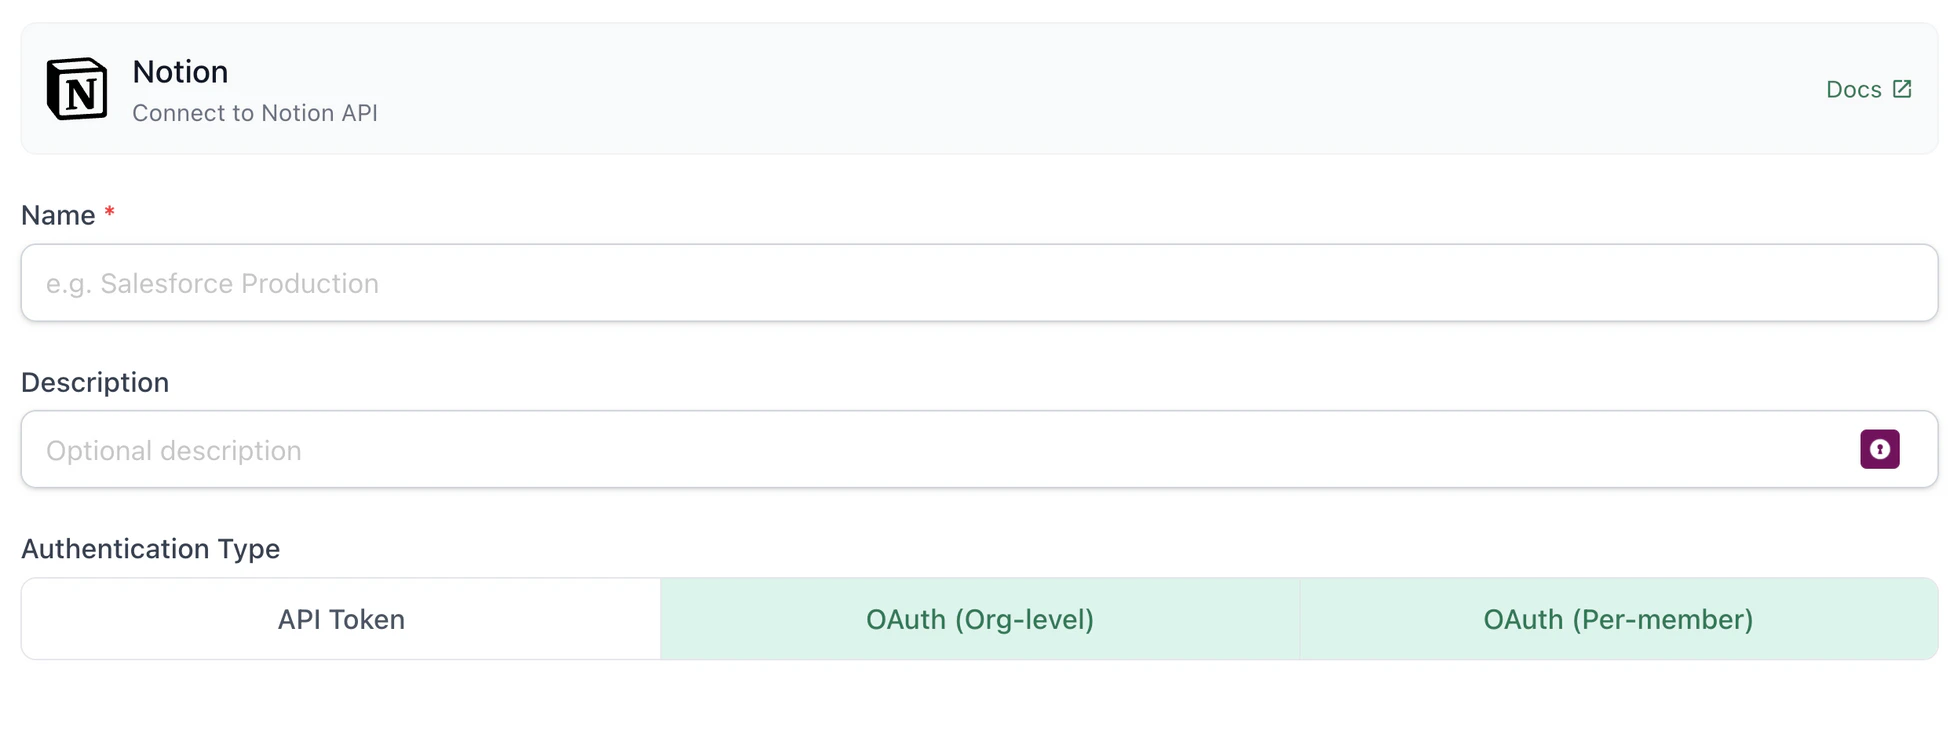
Notion Org-level) - Authentication type — select OAuth (Org-level)
- Client ID and Client Secret — paste the values copied in Step 1
- OAuth Authentication — click Authenticate and select which docs you want Ana to see
Per-member integration
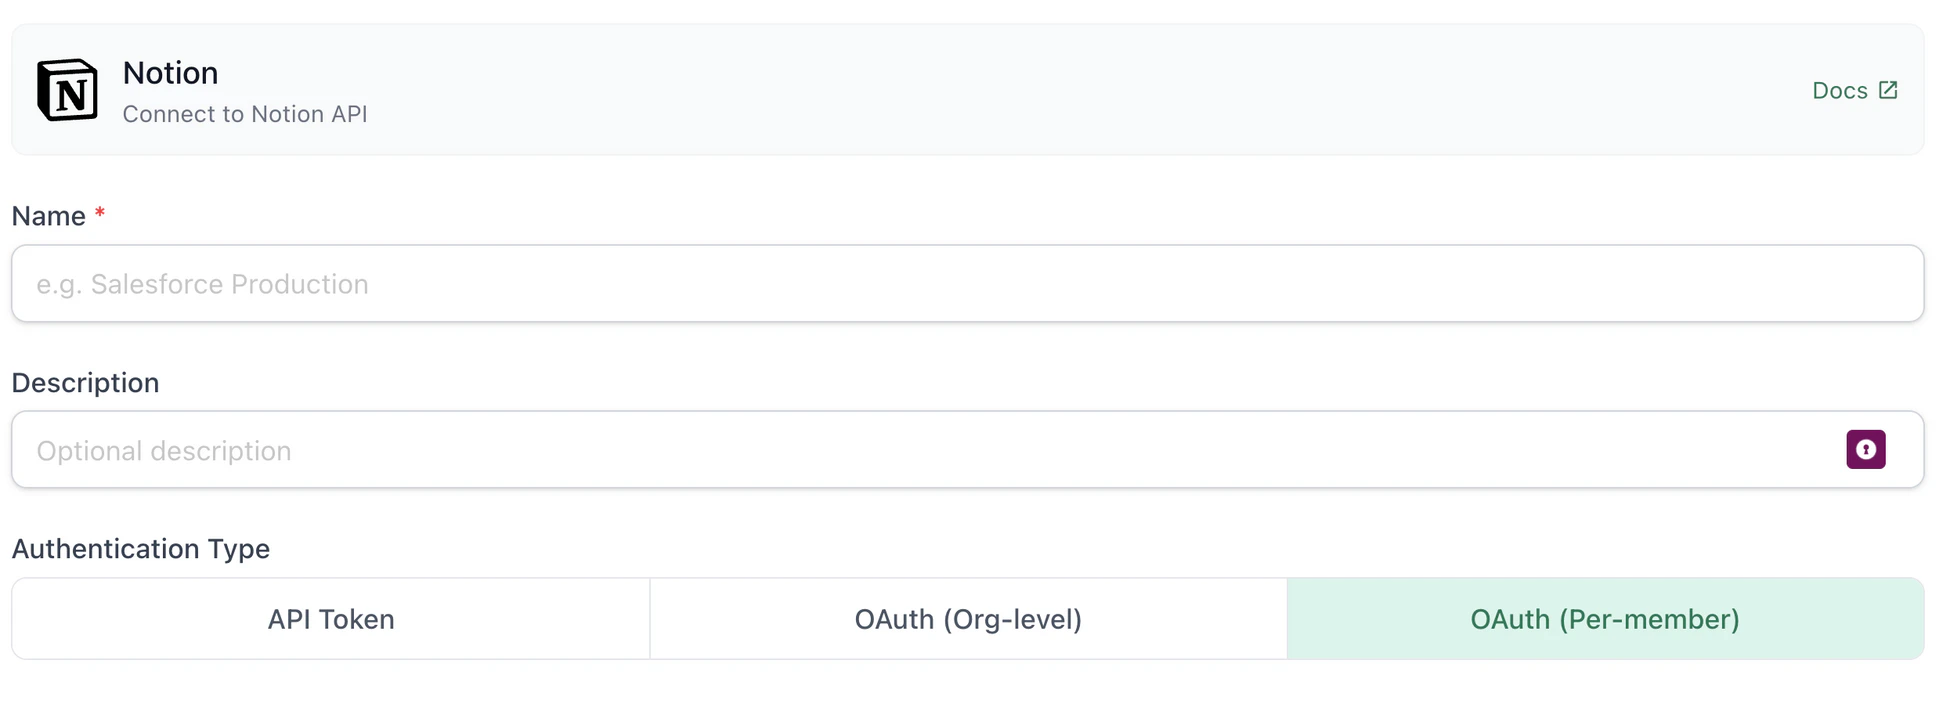
- Name — a label for this connection (e.g.
Notion Per-member) - Authentication type — select OAuth (Per-member)
- Client ID and Client Secret — paste the values copied in Step 1
- OAuth Authentication — click Authenticate and select which docs you want Ana to see
Step 3: Verify the Connection
Once saved, confirm the connector is active:- In Connectors > APIs, check that Notion appears in your list of active connectors.
- Open a new Ana chat and ask a simple query, such as: “List my most recent Notion pages.”
Usage Examples
Once your Notion connector is live, try asking Ana:- “What tasks are currently marked as in progress in my project tracker?”
- “Find all pages related to [project name].”
- “What decisions were made in Q1 planning docs?”
- “Pull everything in my Notion CRM where the status is ‘Active’.”
- “Which pages haven’t been updated in the last 30 days?”
Troubleshooting
| Symptom | Likely Cause | Fix |
|---|---|---|
OAuth Authentication: Something went wrong | Incorrect redirect URL | In your Notion integration settings, make sure https://app.textql.com/auth/api-oauth/callback is listed exactly as a redirect URL. |
| Ana returns no results (no error) | Pages not shared with the integration | In Notion, share the relevant pages and databases with your connection under Share > Connections. |
Security Notes
- Personal access tokens expire one year after creation. Regenerate and update your TextQL connector before the token lapses to avoid interruptions.
- OAuth credentials (Org-level and Per-member integrations) do not expire but should be rotated periodically as a best practice.
- The integration uses read-only access by default — Ana can query and summarize your Notion content but cannot create, edit, or delete pages.
- To revoke access, go to your Notion Developer Portal, find your connection, and delete it. Then remove the connector from Connectors > APIs in TextQL.
Setup Checklist
Before moving on, confirm you’ve completed each step:- Generated credentials from Notion (PAT, or OAuth client ID + secret)
- Added Notion as an API connector in TextQL under Connectors > APIs
- Selected the matching authentication type and saved the connector
- Shared the relevant pages and databases with your integration in Notion
- Verified the connection by running a test query in Ana