

1. Overview
Connect your Notion workspace to Ana to search and analyze pages, databases, and notes across your team’s knowledge base. Ana can query structured database entries, read page content, and surface information from across your workspace.Create an integration in Notion, share the relevant pages and databases with it, and store the token as an API Connector in TextQL.
2. Prerequisites
You’ll need:- A Notion account with access to the pages or databases you want Ana to query
- Admin access to your Notion workspace if you are setting up an Org-level integration
- A TextQL account with permission to add API connectors
Which connection type should I use?
If you’re setting this up for your team, use an Org-level integration. A personal access token limits Ana to your individual permissions only, which may cause incomplete results for shared workflows. Per-member integrations are only necessary when connecting multiple Notion workspaces.
3. Capabilities
Once configured, Ana can:- Fetch and search pages, databases, and documents across your Notion workspace
- Query structured database entries and filter by properties, tags, dates, or status
- Summarize content from pages, meeting notes, and project docs
- Surface linked pages and related content across your workspace
- Generate reports from database views, such as project trackers, CRMs, or task lists
- Answer questions grounded in your Notion content, like “What’s the status of X project?” or “Who owns Y task?”
4. Setup Instructions
Step 1: Generate Your Notion Credentials
Before configuring TextQL, you’ll need credentials from Notion. Which type you generate depends on your use case — see Which connection type should I use? above for guidance.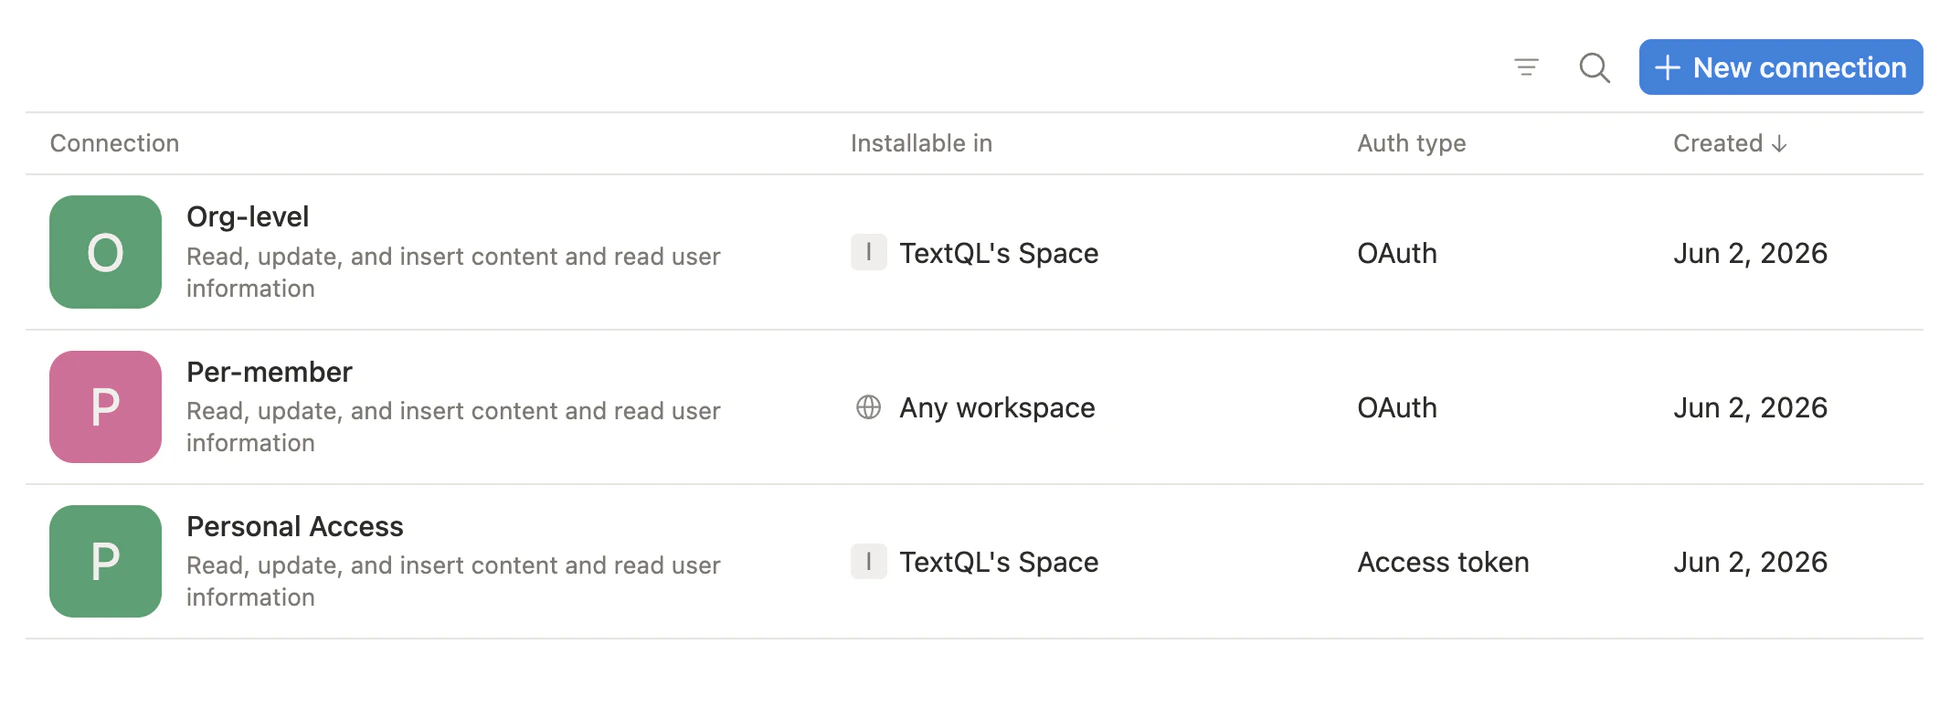
The Notion Developer Portal Connections page, showing Org-level, Per-member, and Personal Access connections side by side
Personal access token
- Go to notion.com/developers and sign in.
- In the left sidebar, click Personal access tokens.
- Click New token.
- Enter a name and choose the workspace you want to connect.
- Click Create token, then copy the value immediately.
Org-level & Per-member integration
- Go to notion.com/developers and sign in.
- Navigate to Connections on the left sidebar and click New connection.
- Enter a name and choose OAuth for the authentication method.
- Choose the development workspace and where the workspace will be installed.
- Under Installable in, configure based on your connection type:
- Org-level: uncheck Any workspace and select only your specific workspace
- Per-member: ensure Any workspace is selected
- For Redirect URL, enter
https://app.textql.com/auth/api-oauth/callback. - Click Save.
- Open the Configuration tab and copy your OAuth client ID and OAuth client secret.
Step 2: Add Notion as an API Connector in TextQL
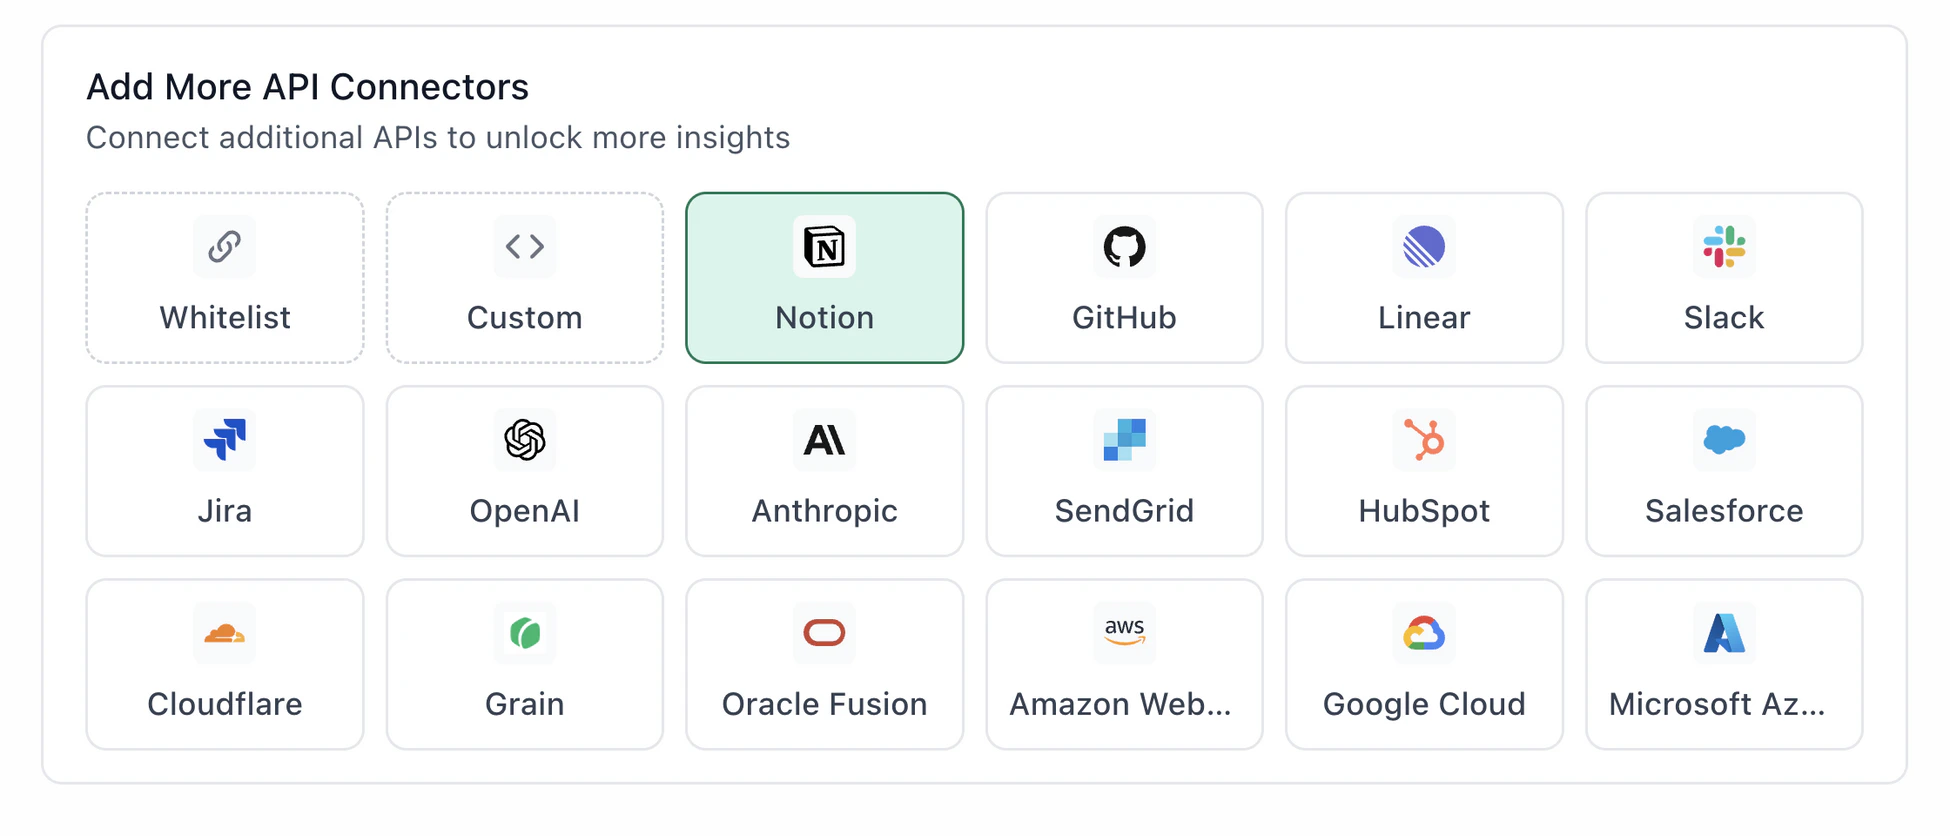
Notion highlighted in the TextQL API Connectors setup panel — select it to open the connector configuration form
- Go to app.textql.com and sign in.
- In the bottom-left sidebar, click Connectors.
- Select the APIs tab, then click Notion.
- In the configuration panel, choose your Authentication Type and fill in the matching fields.
Personal access token (PAT)
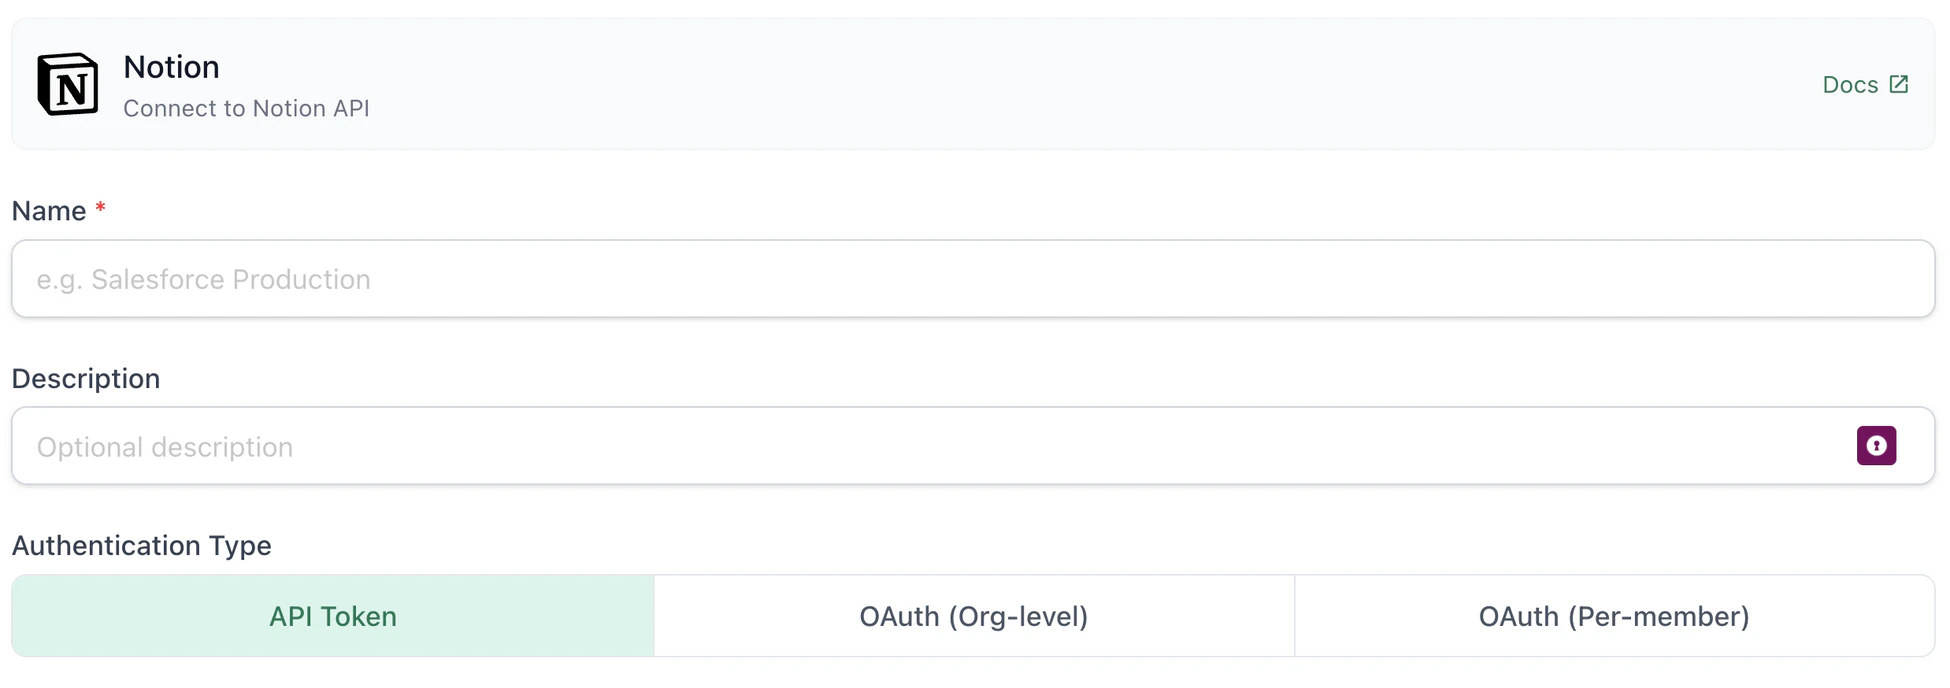
Select API Token as the authentication type when using a Notion personal access token
- Name: a label for this connection (e.g.
Notion PAT) - Authentication type: select API Token
- Integration token: paste the access token from Step 1
Org-level integration
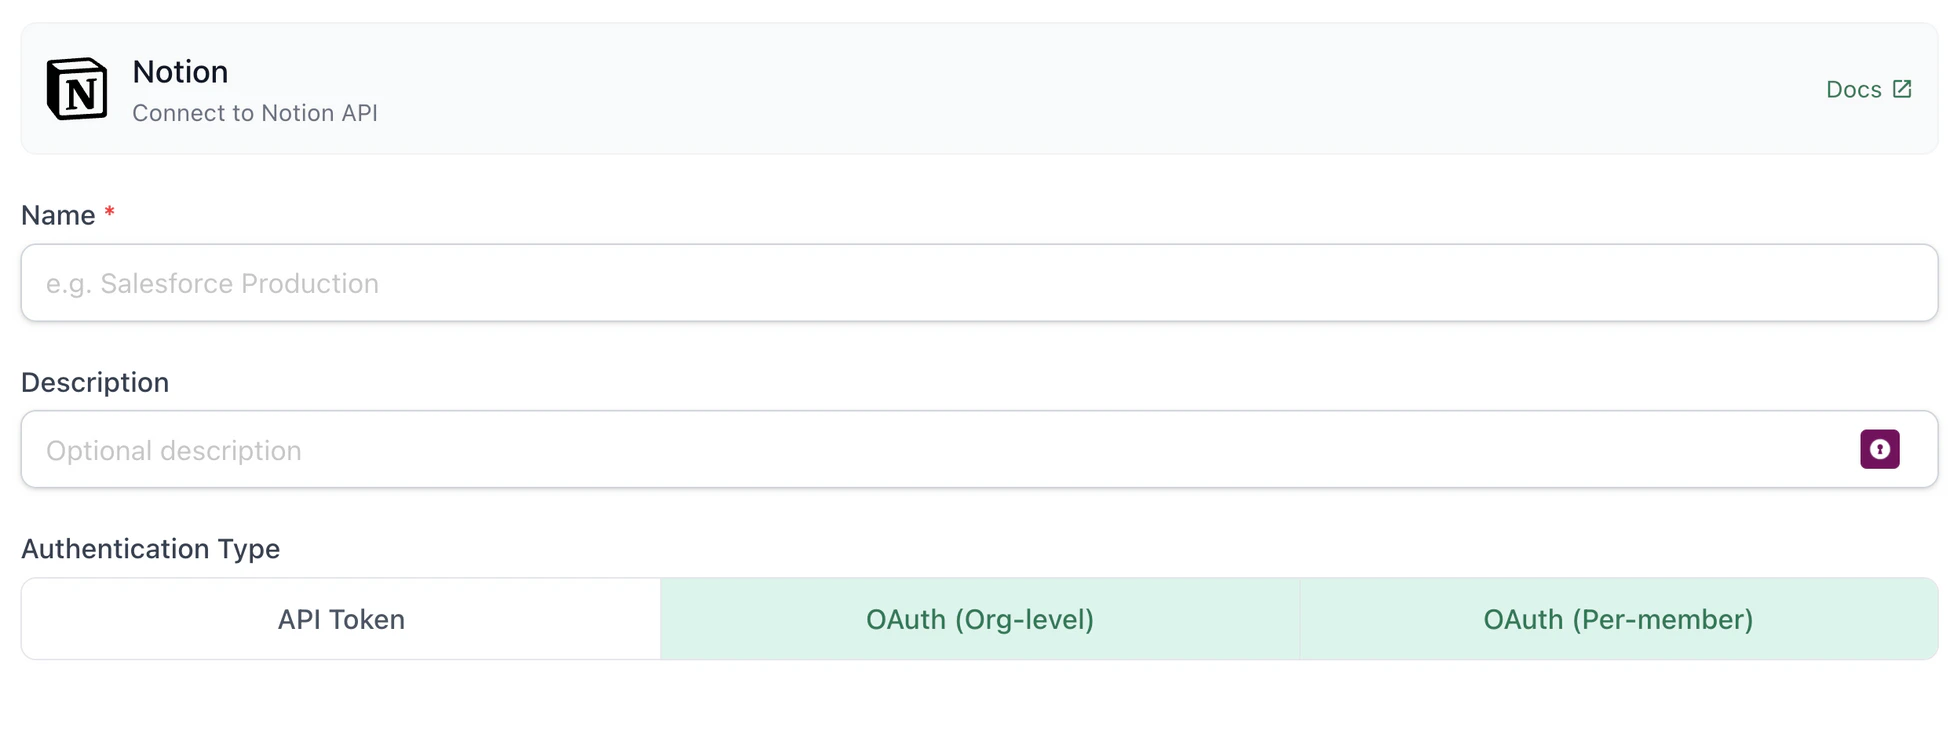
Select OAuth (Org-level) when connecting a single workspace for your whole team
- Name: a label for this connection (e.g.
Notion Org-level) - Authentication type: select OAuth (Org-level)
- Client ID and Client Secret: paste the values copied in Step 1
- OAuth Authentication: click Authenticate and select which docs you want Ana to see
Per-member integration
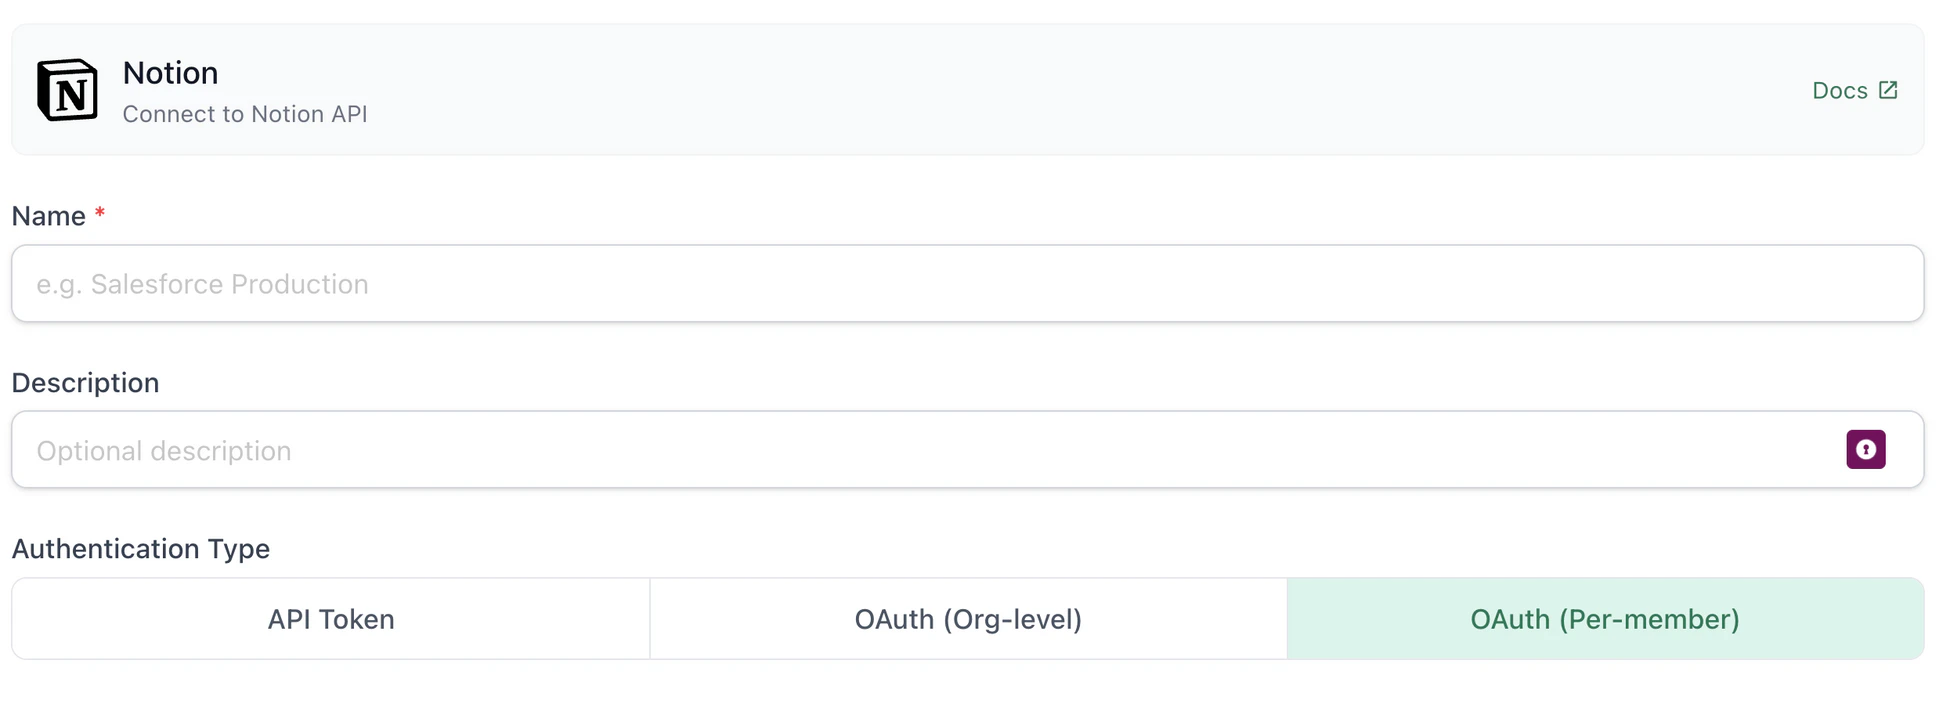
Select OAuth (Per-member) when connecting multiple workspaces or Notion users
- Name: a label for this connection (e.g.
Notion Per-member) - Authentication type: select OAuth (Per-member)
- Client ID and Client Secret: paste the values copied in Step 1
- OAuth Authentication: click Authenticate and select which docs you want Ana to see
Step 3: Verify the Connection
Once saved, confirm the connector is active:- Click on the Notion connector and select Test Connection at the bottom of the panel.
- A successful setup will return Connection successful (200).
- If the test fails, refer to the Troubleshooting section for next steps.
5. Usage Examples
Once your Notion connector is live, try asking Ana:- “What tasks are currently marked as in progress in my project tracker?”
- “Find all pages related to [project name].”
- “What decisions were made in Q1 planning docs?”
- “Pull everything in my Notion CRM where the status is ‘Active’.”
- “Which pages haven’t been updated in the last 30 days?“
6. Troubleshooting
7. Security Notes
- Personal access tokens expire one year after creation. Regenerate and update your TextQL connector before the token lapses to avoid interruptions.
- OAuth credentials (Org-level and Per-member integrations) do not expire but should be rotated periodically as a best practice.
- Do not share API keys, client secrets, or OAuth credentials in email, chat, tickets, or other unsecured locations.
- The integration uses read-only access by default — Ana can query and summarize your Notion content but cannot create, edit, or delete pages.
- To revoke access, go to your Notion Developer Portal, find your connection, and delete it. Then remove the connector from Connectors > APIs in TextQL.