

1. Overview
The SendGrid connector links Ana to Twilio SendGrid’s email delivery API, enabling programmatic sending of transactional and marketing emails directly from your workflows. Once configured, Ana can compose and dispatch emails — including reports, alerts, and data summaries — to individuals or lists without leaving the platform. Delivery status and error handling are managed through SendGrid’s API response layer. Note that this connector is outbound-only; it does not read inbox data or track engagement metrics.Connect SendGrid to let Ana send emails on your behalf using your organization’s SendGrid account.
2. Prerequisites
You’ll need:- A Twilio SendGrid account with a verified sender identity (domain or single sender)
- A TextQL account with permission to add API connectors
3. Capabilities
Once configured, Ana can:- Send transactional emails such as report deliveries, data alerts, and scheduled summaries to specified recipients
- Compose dynamic email content populated with query results, charts, or analysis outputs
- Trigger emails programmatically as part of a playbook or automated workflow
- Route notifications to individuals or distribution lists using your verified SendGrid sender identity
4. Setup Instructions
Step 1. Create an API key
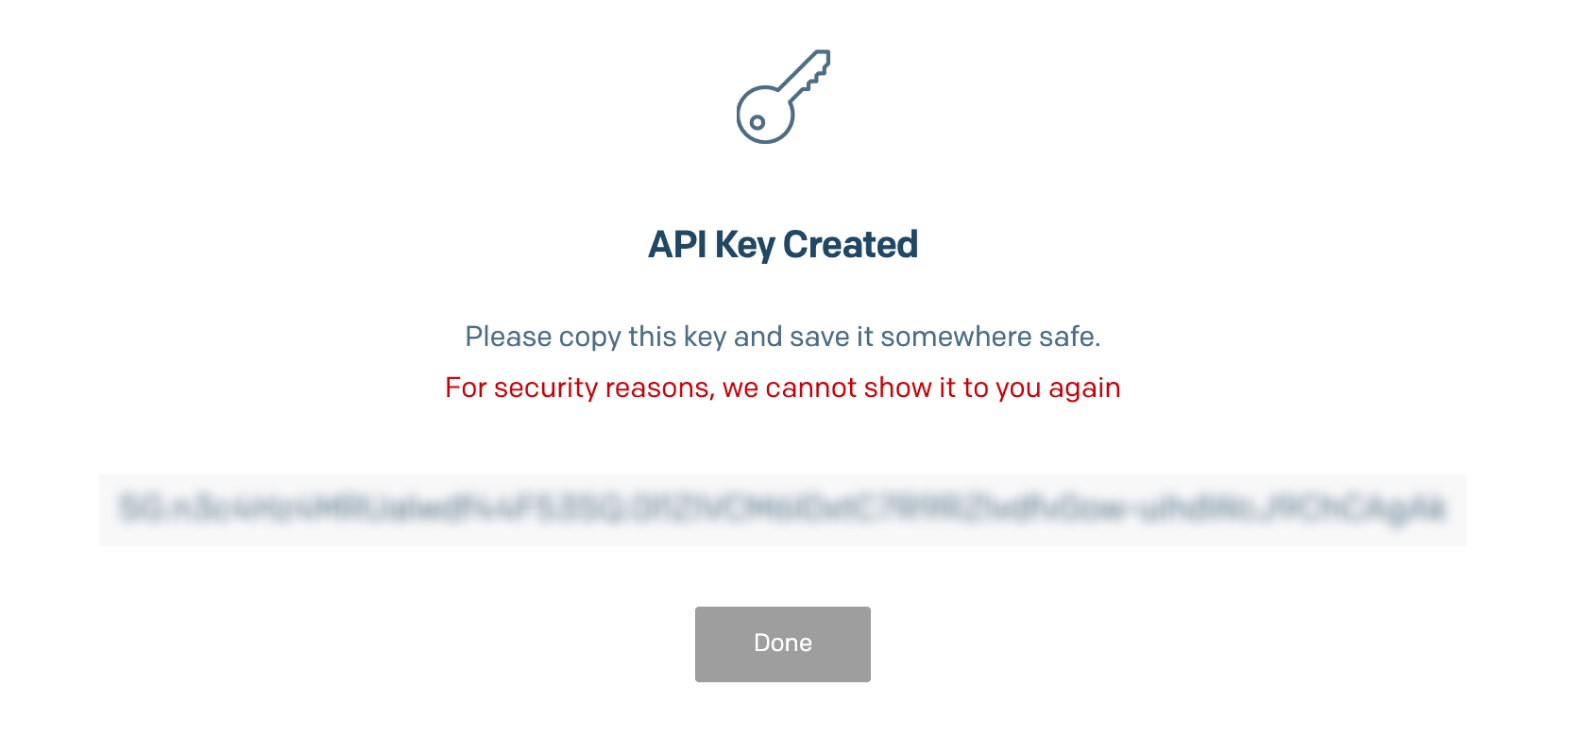
SendGrid 'API Key Created' confirmation screen.
- Sign in to SendGrid
- On the left sidebar, click Settings > API Keys
- Click Create API key
- Fill in the following:
- Name: enter a name to help identify the key (e.g. “TextQL connector”)
- Permissions: API key permissions control what actions a key is allowed to perform on your account, such as reading data, making changes, or accessing billing information. They let you limit a key’s scope to only what’s needed, so a key can be restricted to specific functions rather than having full control over everything. If you are unsure which permissions to choose, we recommend granting Full Access.
- Copy the token immediately.
What permissions should I choose?
Step 2. Add SendGrid as a connector in TextQL
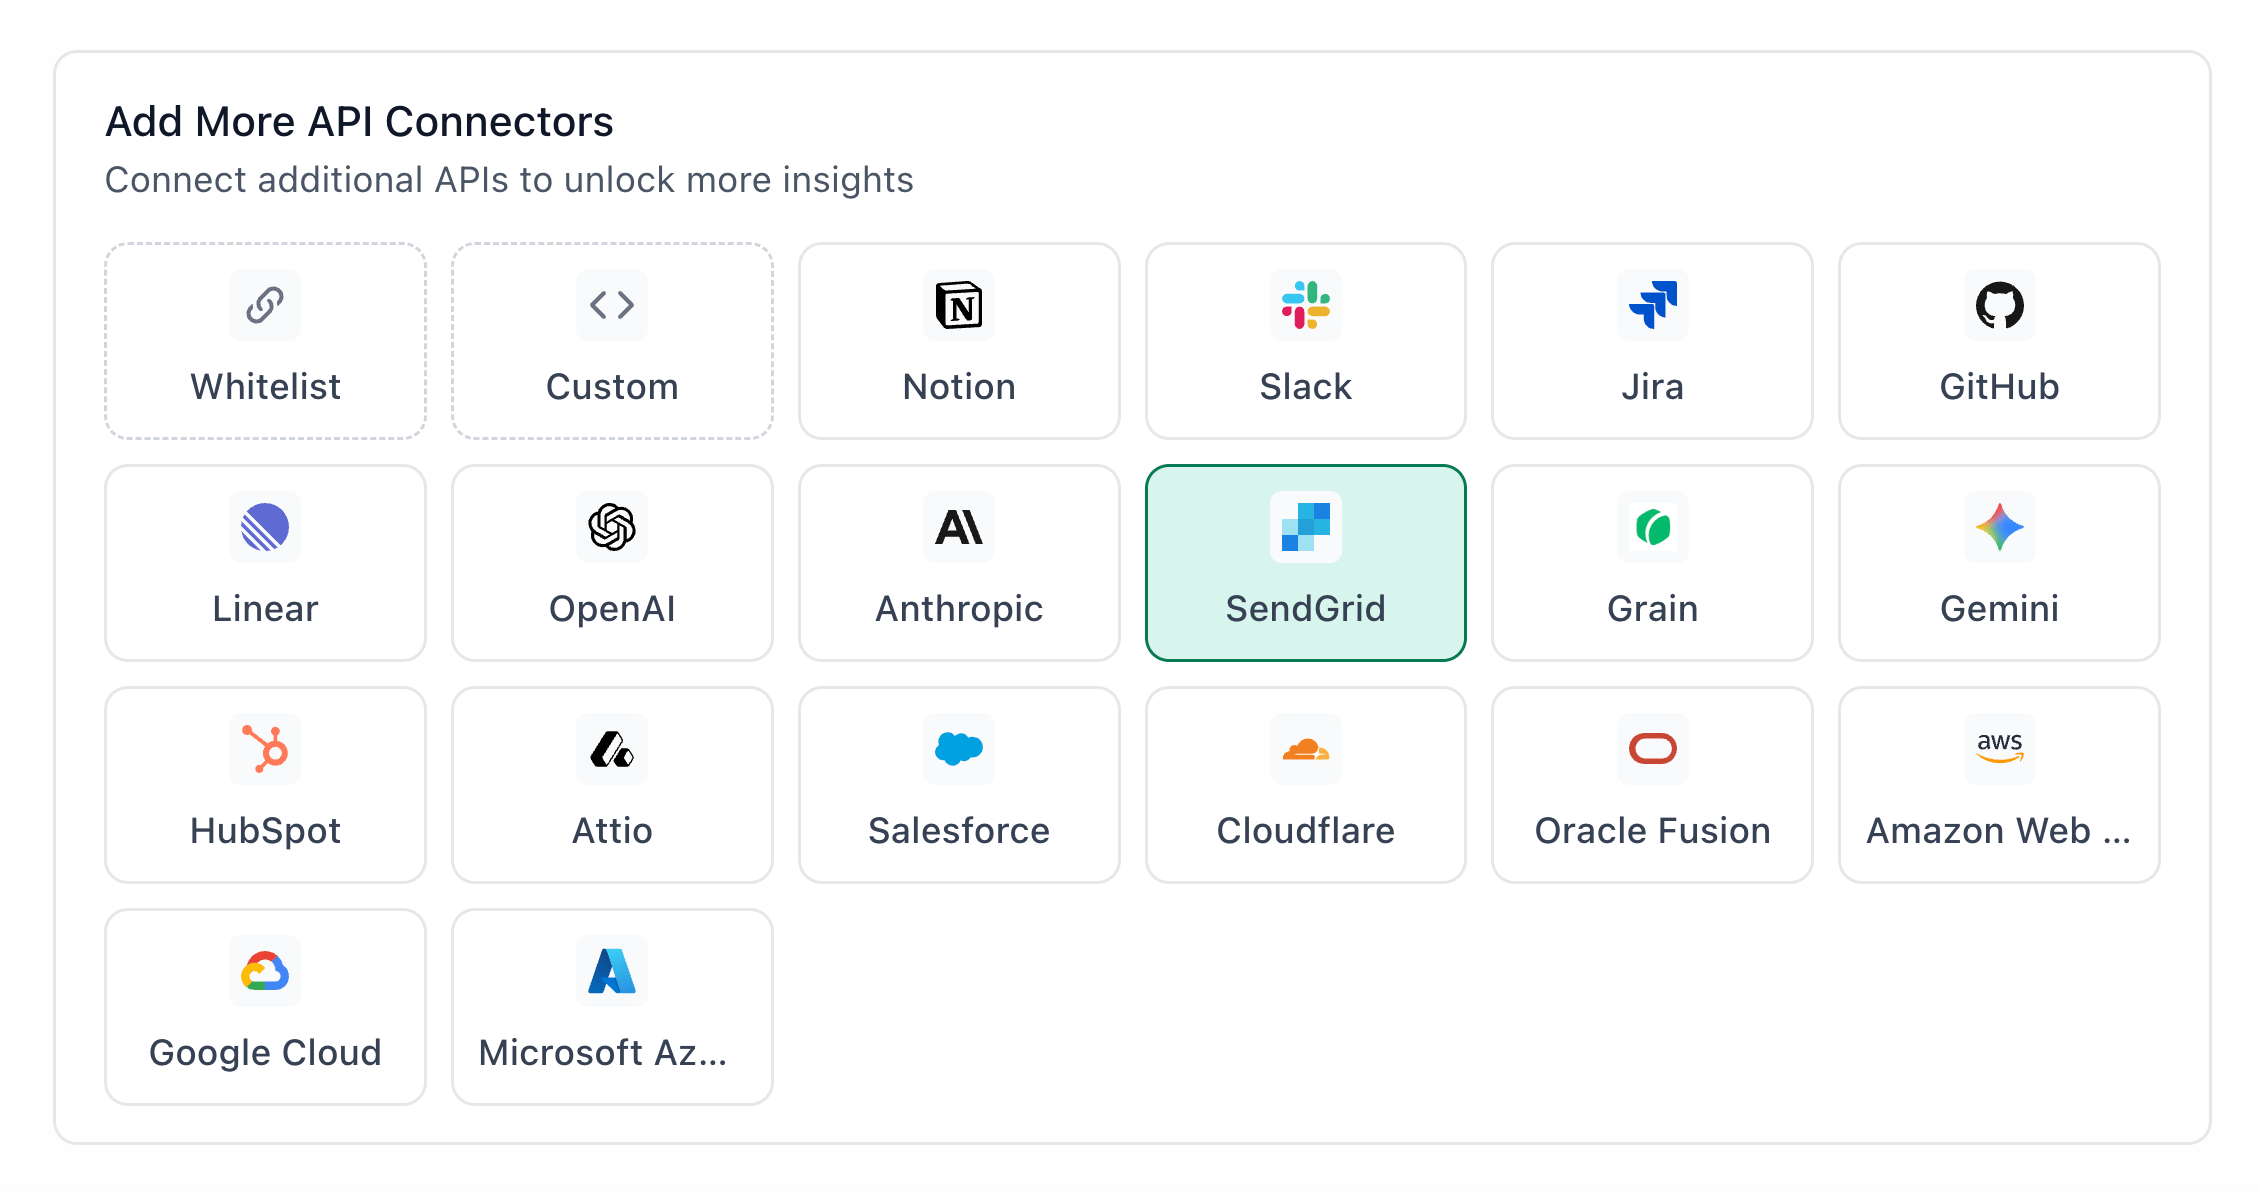
SendGrid highlighted in the TextQL API Connectors setup panel — select it to open the connector configuration form
- Go to app.textql.com and sign in.
- In the bottom left sidebar, click Connectors > APIs and select SendGrid.
- Paste your API token from Step 1.
- Click Save.
Step 3: Verify the connection
Once saved, confirm that the connector is active:- Click on the SendGrid connector and select Test Connection at the bottom of the panel.
- A successful setup will return Connection successful (200).
- If the test fails, refer to the Troubleshooting section for next steps.
5. Usage Examples
Once configured, you can ask Ana:- “Email the top 10 customers by revenue this quarter to my sales lead.”
- “Draft and send a data anomaly notification to the engineering team.”
- “After this analysis, email a PDF summary to the stakeholders on this list.”
- “Set up a weekly churn report and deliver it to the customer success team every Friday.”
- “Send me a one-off email with the results of this SQL query.”
6. Troubleshooting
7. Security Notes
- API keys do not expire automatically, but should be rotated periodically as a best practice. If a key is compromised, revoke it immediately in SendGrid and issue a new one.
- The integration uses API key authentication — Ana cannot modify your SendGrid account settings, suppression lists, templates, or billing information.
- Do not share API keys, client secrets, or OAuth credentials in email, chat, tickets, or other unsecured locations.
- To revoke access, go to Settings > API Keys in your SendGrid dashboard, locate the key used for this integration, and delete it. Then remove or update the credential in TextQL under Connectors.
- For more details on how SendGrid handles API tokens and permissions, refer to SendGrid’s official documentation.